Experiment file
Course Name- Containerisation and DevOps
Student Name- Ananya Karn
Sap_ID - 500125205
Roll No. - R2142231061
Semester - 6th
Instructor - Prateek Gautam Sir
github pages : https://kripinya.github.io/containerisation-devOps-AnanyaKarn-500125205-B3-ccvt/
Experiment-0-1 : Setup of Ubuntu Virtual Machine using Vagrant and VMware Fusion and Deployment of Nginx & Docker
Date: January 21, 2026
Experiment No. - 1
Aim/ Objective
The aim of this experiment is to provision an Ubuntu 22.04 virtual machine using Vagrant with VMware Fusion on Apple Silicon architecture, install and configure the Nginx web server, and deploy Docker Engine to validate containerized application execution.
</aside>
Software and hardware requirements:
| Component | Details |
|---|---|
| Host Operating System | macOS (Apple Silicon – ARM64) |
| Virtualization Platform | VMware Fusion |
| VM Automation Tool | Vagrant |
| Guest OS | Ubuntu 22.04 LTS (ARM64) |
| Web Server | Nginx |
| Container Platform | Docker Engine |
| Code Editor | Visual Studio Code |
| System Architecture | ARM64 |
Theory/BackGround
Virtualization Virtualization is a technology that allows multiple operating systems to run on a single physical machine by abstracting the underlying hardware resources. Instead of dedicating one physical system to one operating system, virtualization enables efficient utilization of CPU, memory, and storage by creating isolated virtual environments known as virtual machines. Each virtual machine behaves like a real computer with its own operating system and applications, while sharing the same physical hardware.
Vagrant Vagrant is an open-source tool used for automating the creation and management of virtual machines. It provides a simple and reproducible workflow for setting up development environments using configuration files known as Vagrantfiles. With Vagrant, virtual machines can be created, configured, started, stopped, and destroyed using simple command-line instructions. This eliminates manual setup and ensures consistency across different systems, making it highly useful in DevOps and cloud-based environments.
VMware Fusion VMware Fusion is a virtualization platform used on macOS to run virtual machines efficiently. On Apple Silicon (ARM64) architecture, VMware Fusion is preferred because it provides native support for ARM-based processors. Other virtualization tools such as VirtualBox have limited or unstable support on Apple Silicon, whereas VMware Fusion is optimized for performance and compatibility. Therefore, VMware Fusion is an ideal provider for running Ubuntu virtual machines on macOS systems with Apple Silicon.
Nginx Nginx is a high-performance web server widely used for serving static and dynamic web content. It is known for its lightweight architecture, high concurrency handling, and low memory usage. Nginx is commonly used as a web server, reverse proxy, and load balancer in modern web applications. In this experiment, Nginx is installed inside the Ubuntu virtual machine to demonstrate the deployment and management of a web service.
Docker Docker is an open-source containerization platform that allows applications to be packaged along with their dependencies into lightweight containers. Containers ensure that applications run consistently across different environments by isolating them from the underlying system. Docker is widely used in DevOps practices because it simplifies application deployment, improves scalability, and reduces configuration issues. In this experiment, Docker Engine is installed inside the Ubuntu virtual machine to validate container execution using a sample container.
Virtual Machines vs Containers The main difference between virtual machines and containers lies in their architecture and resource usage. Virtual machines include a full operating system along with the application, making them heavier and slower to start. Containers, on the other hand, share the host operating system kernel and only include the application and its dependencies, making them lightweight and faster. While virtual machines provide strong isolation at the hardware level, containers offer efficient and scalable application deployment. Both technologies are essential in modern infrastructure, and this experiment demonstrates their combined usage.
System Architecture/Setup Description In this experiment, macOS acts as the host operating system. VMware Fusion is used as the virtualization provider, while Vagrant automates the creation and management of the Ubuntu 22.04 ARM virtual machine. Inside the virtual machine, Nginx is deployed as a web server and Docker Engine is installed to run containerized applications.
Setup: PART A — Experiment 0 (Environment Setup) To install and configure required tools (WSL/Ubuntu, Docker, Vagrant, virtualization platform) for performing containerisation experiments. Include:
- Host OS (macOS Apple Silicon)
- VMware Fusion
- Vagrant
- Docker
- Ubuntu ARM64
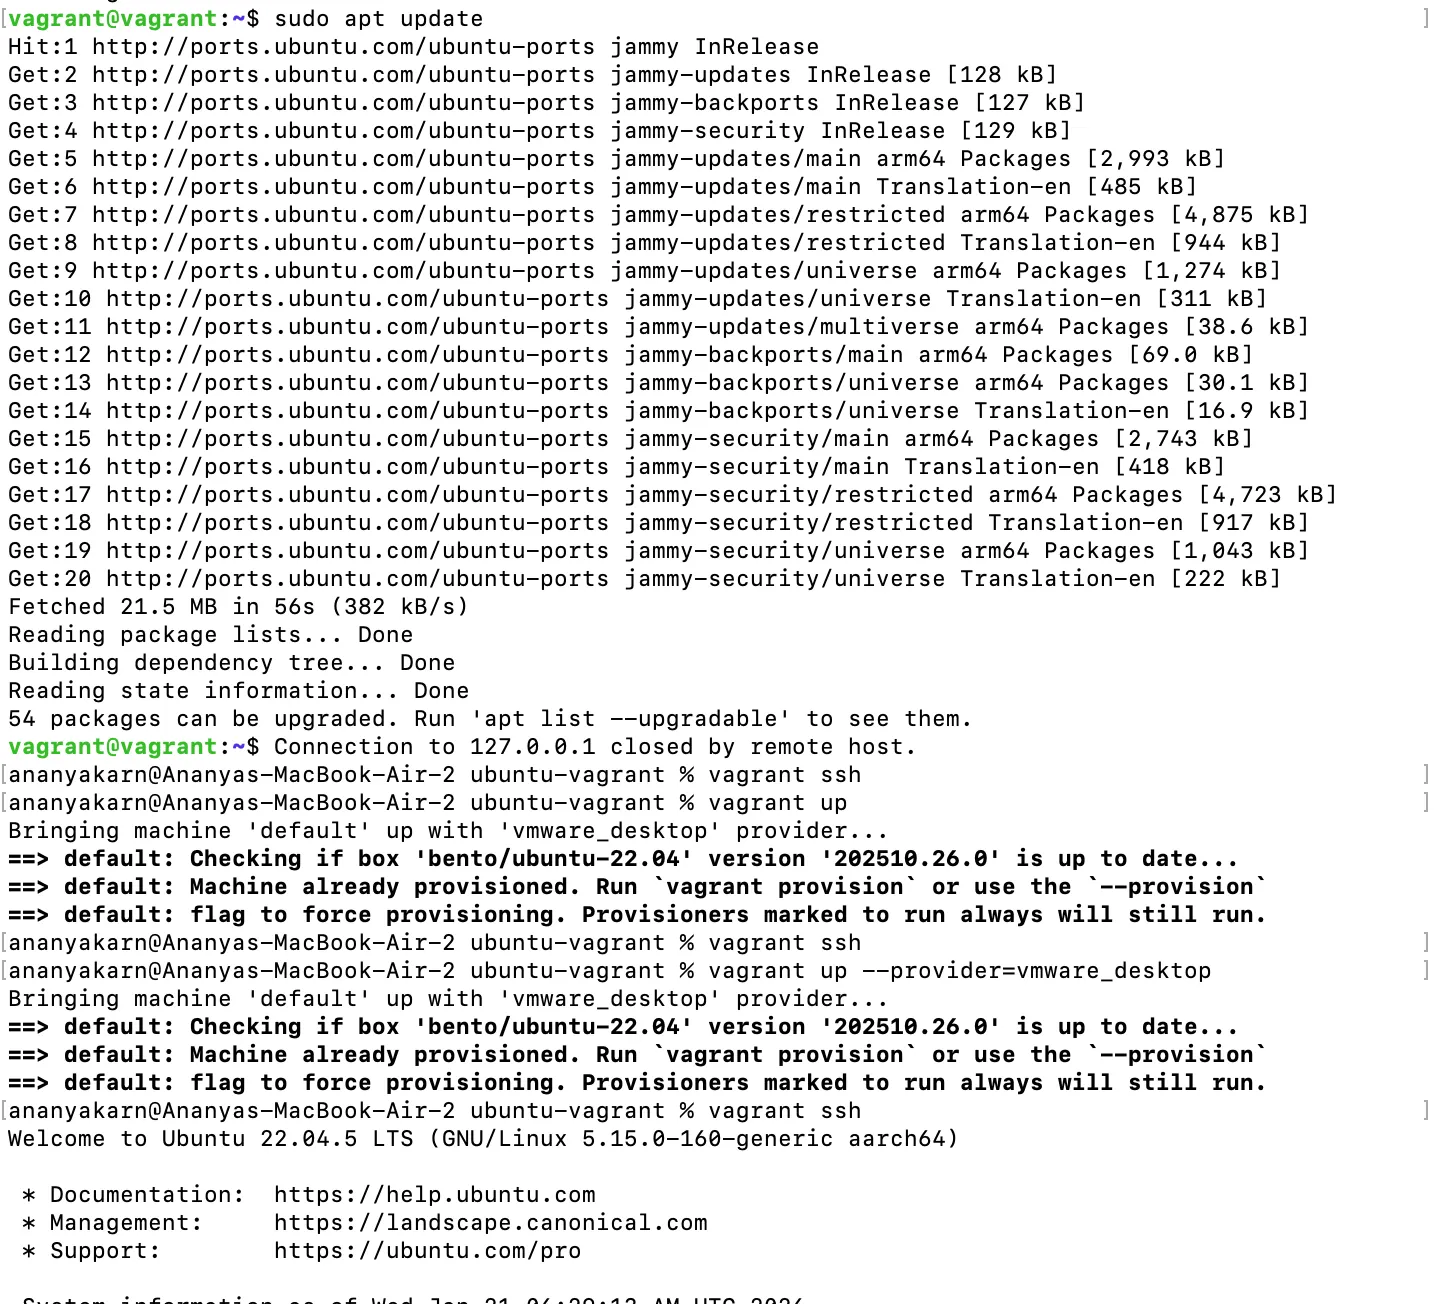
Procedure- Step 1 : Installation and verification of Vagrant: Vagrant is used to automate the creation and management of virtual machines. To install Vagrant, run these command in the local terminal of the host system:
brew tap hashicorp/tap
brew install hashicorp/tap/hashicorp-vagrant
 First, the installation of Vagrant is verified on the host system using the terminal.
vagrant --version
 Explanation:
This command checks whether Vagrant is correctly installed on the macOS system and displays the installed version.
Explanation:
This command checks whether Vagrant is correctly installed on the macOS system and displays the installed version.
Step 2: Installation and Setup of VMware Fusion VMware Fusion is used as the virtualization provider for Apple Silicon (ARM64) architecture.
- VMware Fusion is downloaded from the official VMware website.
- The application is installed by dragging it into the Applications folder.
- VMware Fusion is opened once to allow system permissions.
- Required permissions such as system extensions and network access are granted.
Explanation: VMware Fusion provides native ARM support on Apple Silicon, making it suitable for running Ubuntu virtual machines efficiently.

Step 3: Creation of Project Directory A dedicated directory is created to store Vagrant configuration files.
mkdir ubuntu-vagrant
cd ubuntu-vagrant

Explanation: This directory contains the Vagrantfile, which defines the virtual machine configuration.
Step 4: Configuration of Vagrantfile The virtual machine configuration is defined using a Vagrantfile.
Vagrant.configure("2") do |config|
  config.vm.box = "bento/ubuntu-22.04"
  config.vm.provider "vmware_desktop" do |v|
    v.memory = 2048
    v.cpus = 2
  end
end
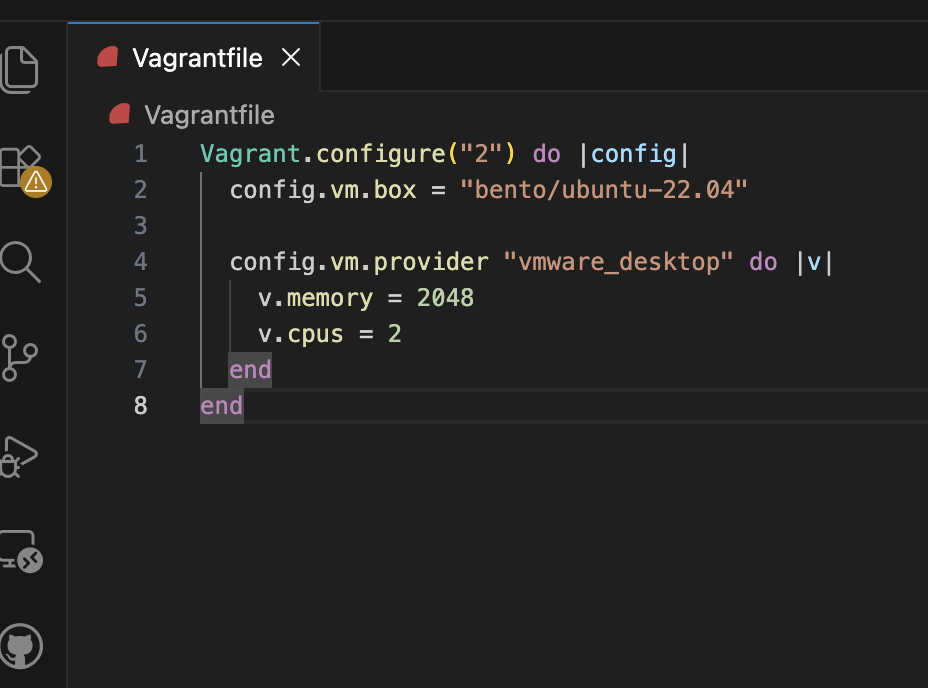
Explanation:
This configuration specifies the Ubuntu 22.04 box compatible with ARM architecture and assigns CPU and memory resources using VMware Fusion as the provider.
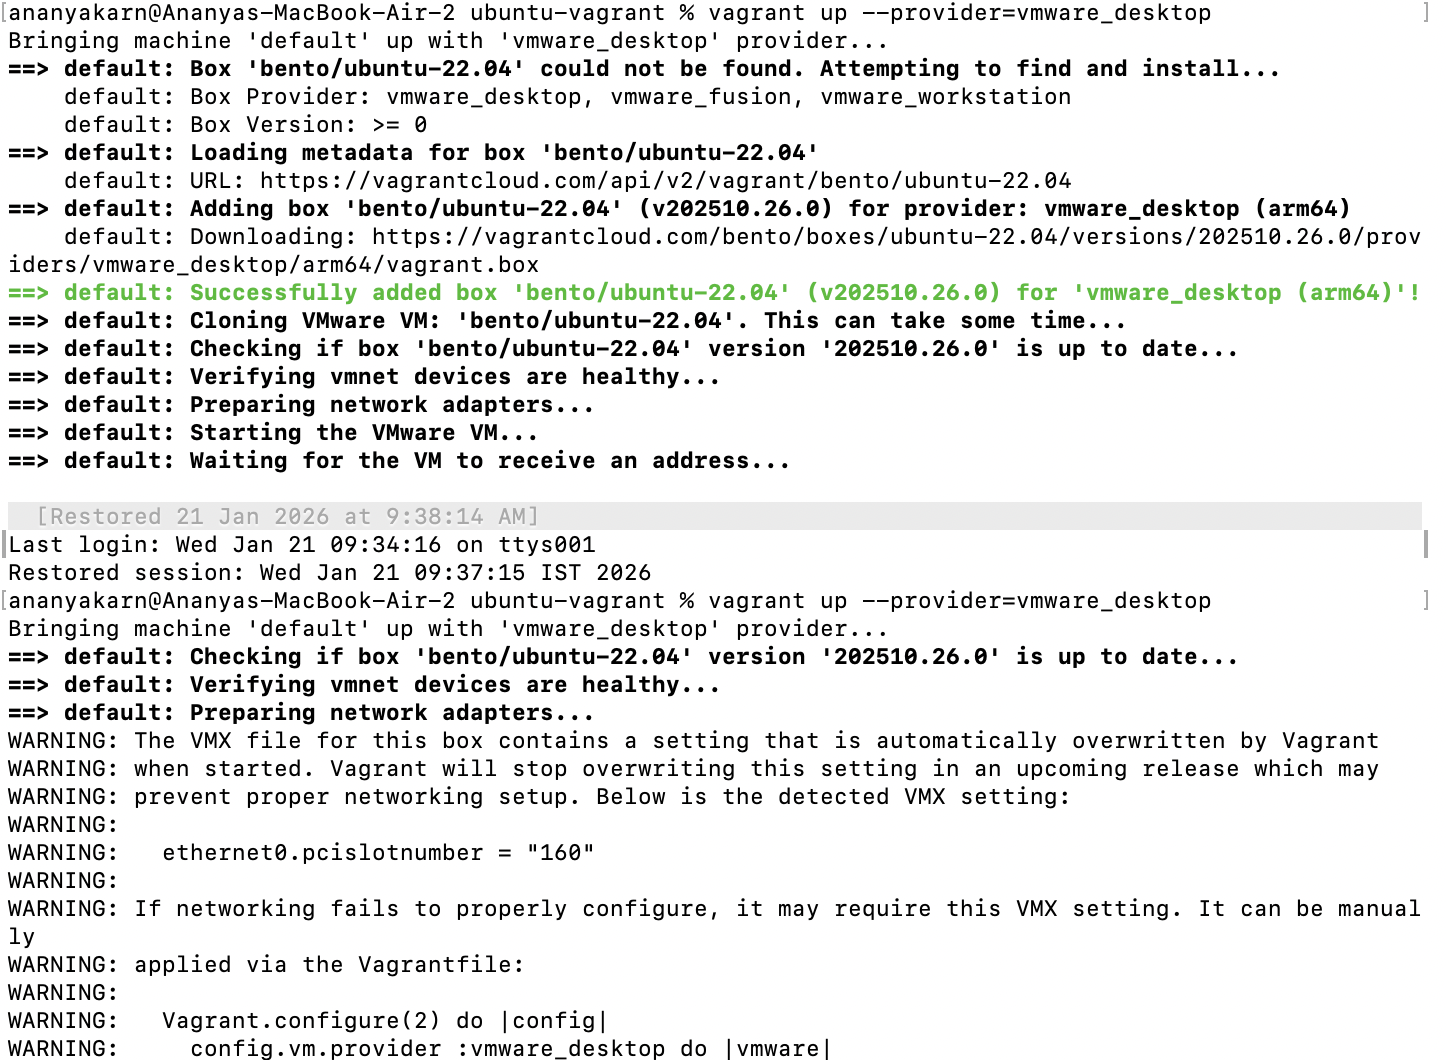
Step 5: Starting the Virtual Machine The Ubuntu virtual machine is started using the following command:
vagrant up --provider=vmware_desktop
Step 6: Accessing the Virtual Machine Secure shell access to the virtual machine is established using:
vagrant ssh
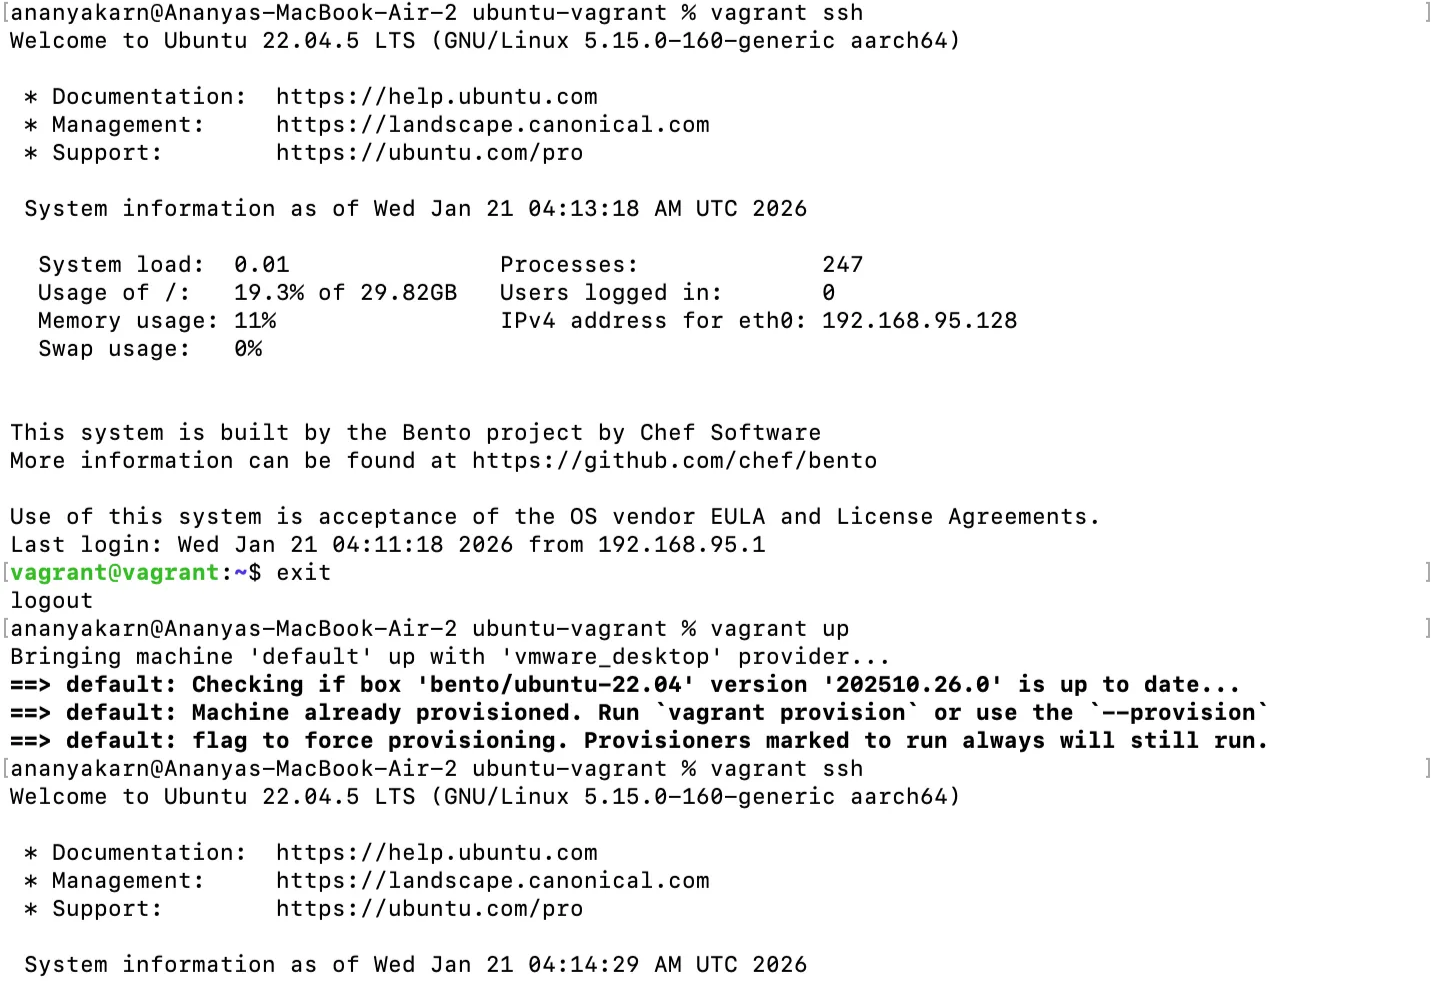
Explanation: This command allows the user to interact with the Ubuntu virtual machine through the terminal.
Step 7: Installation of Nginx Web Server The Nginx web server is installed inside the Ubuntu virtual machine.
sudo apt update
sudo apt install -y nginx
The Nginx service is started and enabled:
sudo systemctl start nginx
sudo systemctl enable nginx
The status of the service is checked using:
systemctl status nginx
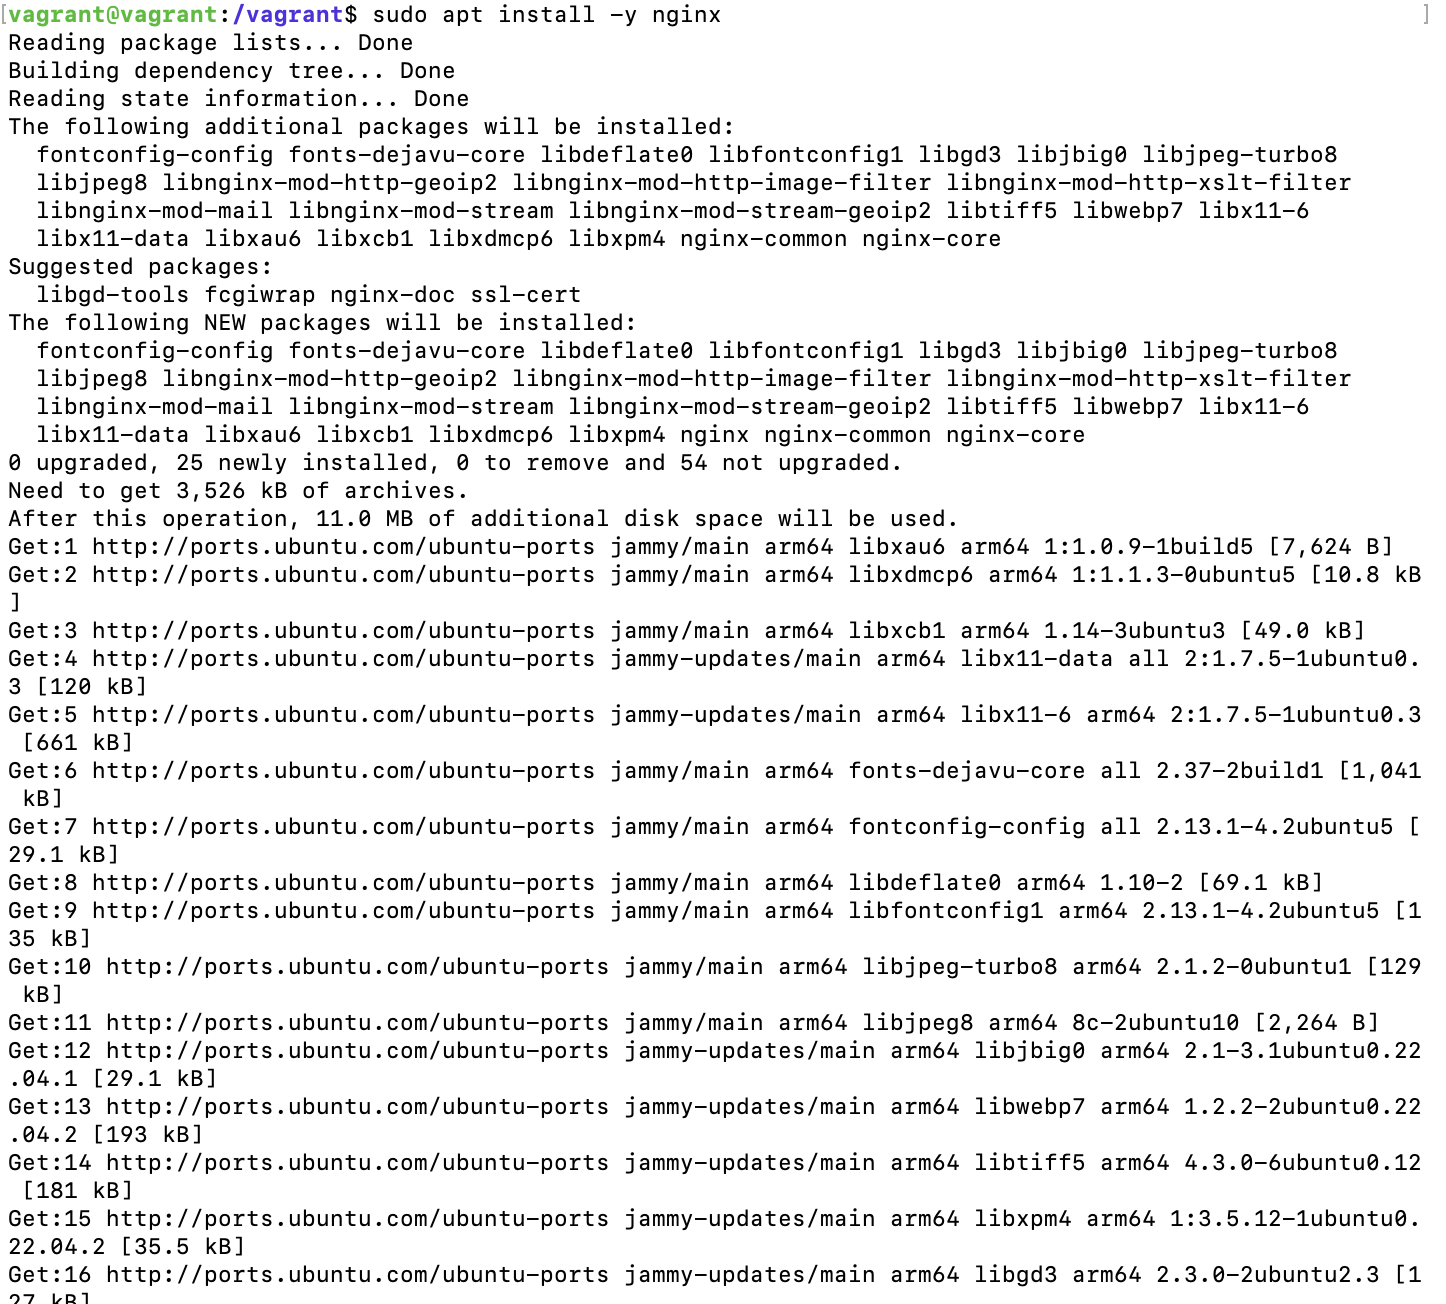
Explanation: These commands install and configure Nginx to run as a web server inside the virtual machine.
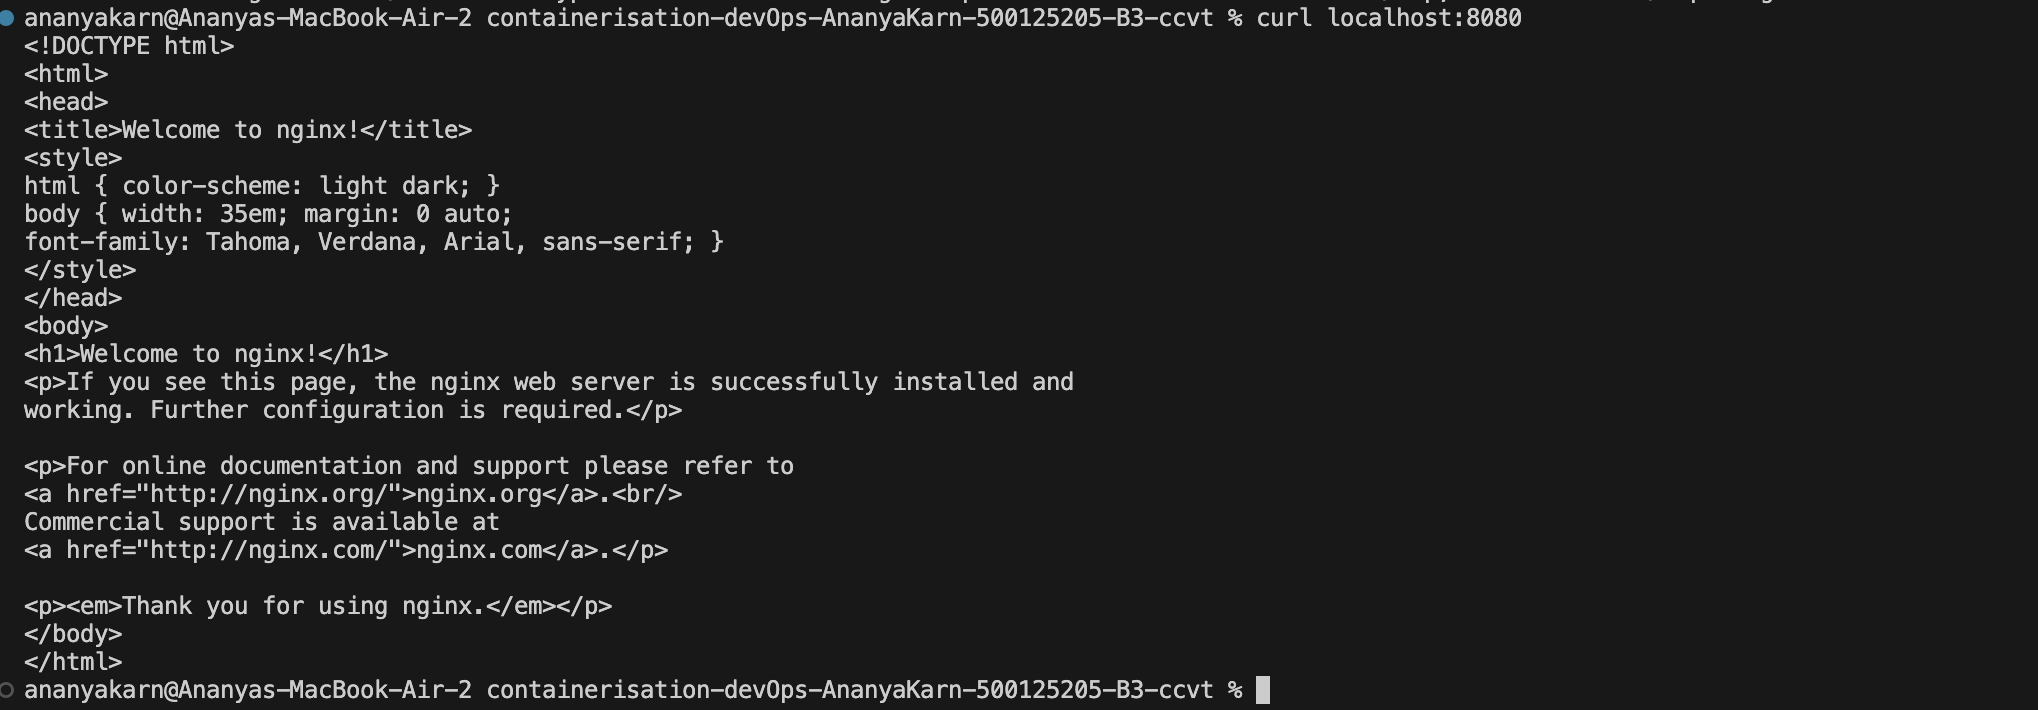
vagrant@vagrant:~$ curl localhost
<!DOCTYPE html>
<html>
<head>
<title>Welcome to nginx!</title>
<style>
    body {
        width: 35em;
        margin: 0 auto;
        font-family: Tahoma, Verdana, Arial, sans-serif;
    }
</style>
</head>
<body>
<h1>Welcome to nginx!</h1>
<p>If you see this page, the nginx web server is successfully installed and
working. Further configuration is required.</p>
<p>For online documentation and support please refer to
<a href="http://nginx.org/">nginx.org</a>.<br/>
Commercial support is available at
<a href="http://nginx.com/">nginx.com</a>.</p>
<p><em>Thank you for using nginx.</em></p>
</body>
</html>
vagrant@vagrant:~$
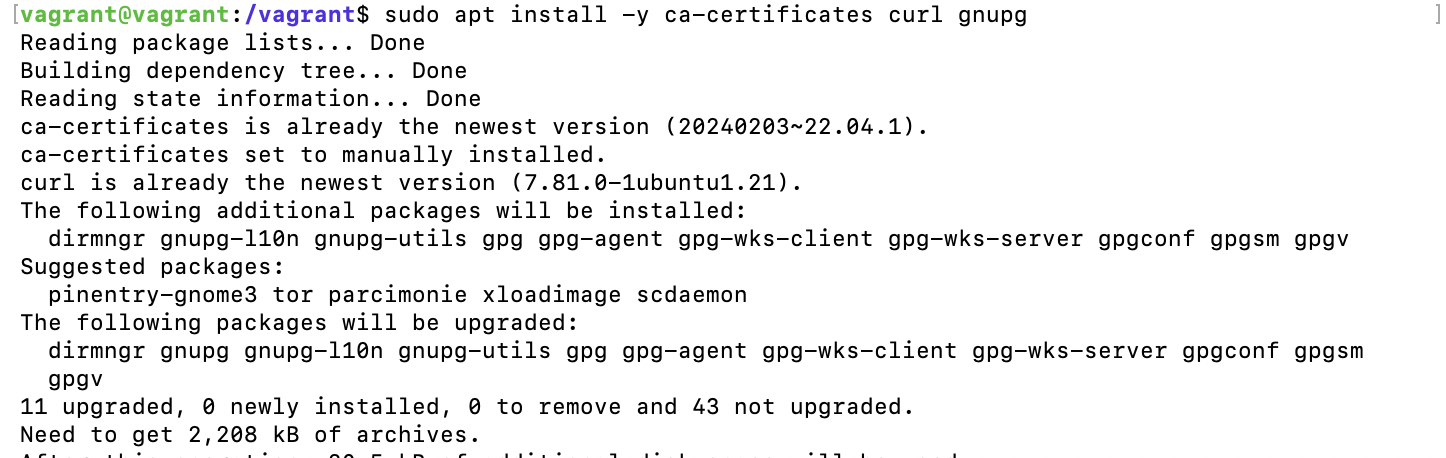
Step 8: Installation of Docker Engine
Docker Engine is installed inside the Ubuntu virtual machine to enable containerization.
sudo apt update
sudo apt install -y ca-certificates curl gnupg
sudo apt install -y docker.io
Docker repository is added and Docker Engine is installed.
After installation, the Docker service is verified by running:
docker --version

Step 9: Verification of Docker Installation
A test container is executed to verify successful installation of Docker.
docker run hello-world
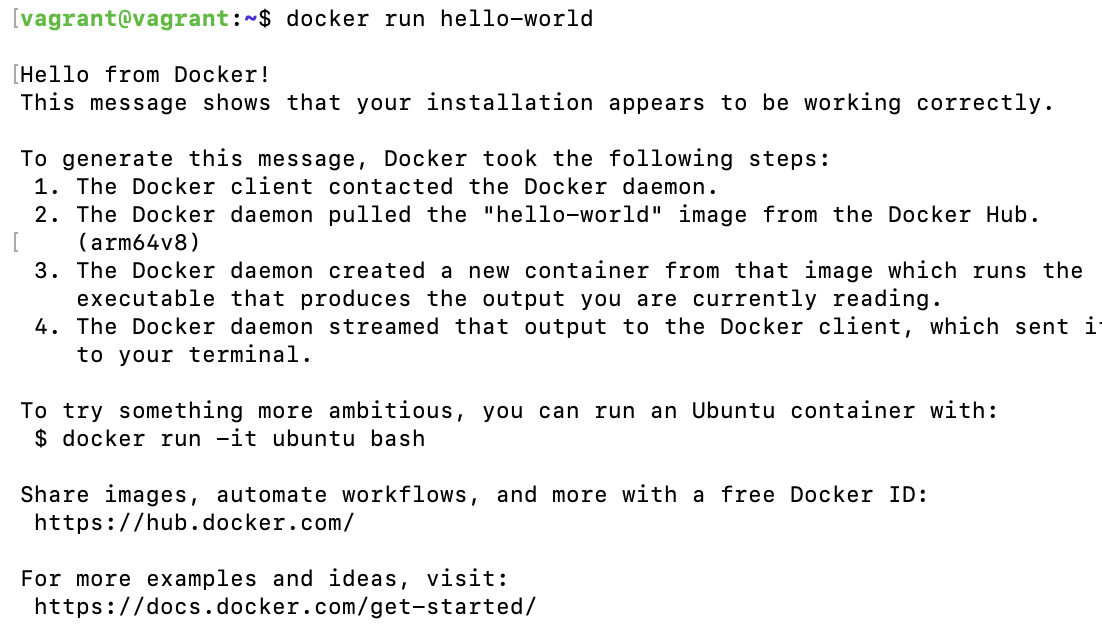
Explanation:
This command downloads and runs a test Docker image, confirming that Docker is installed and functioning correctly.
This procedure successfully completes:
- Virtual machine provisioning using Vagrant
- Virtualization using VMware Fusion
- Deployment of Nginx web server
- Installation and verification of Docker Engine
Result: Ubuntu virtual machine was successfully created using Vagrant and VMware Fusion. Nginx web server and Docker Engine were installed and verified successfully.
VM vs Container Comparison
VM:

Container:

| Parameter | VM | Container |
|---|---|---|
| Boot Time | High | Very Low |
| RAM Usage | High | Low |
| CPU Overhead | Higher | Minimal |
| Disk Usage | Large | Small |
| Isolation | Strong | Moderate |
Observations
- ARM64 architecture requires compatible virtualization support
- Vagrant simplifies VM provisioning
- Docker runs inside the virtual machine
- Nginx service runs successfully on Ubuntu
Conclusion
The experiment successfully demonstrated the creation of a DevOps-ready environment using Vagrant and VMware Fusion. The installation of Nginx and Docker validated service deployment and container execution within the virtual machine.
EXPERIMENT 2
Date: January 22, 2026
Docker Installation, Configuration, and Running Images Aim / Objective: To install and configure Docker, pull images from Docker Hub, run containers with port mapping, and perform container lifecycle management operations such as start, stop, remove, and image deletion.
Software & Hardware Requirements
| Component | Details |
|---|---|
| Host OS | macOS (Apple Silicon – ARM64) |
| Container Platform | Docker Engine / Docker Desktop |
| Image Used | nginx |
| Terminal | macOS Terminal |
| Internet | Required (for pulling images) |
Theory Image A Docker Image is a read-only template that contains the application code, libraries, dependencies, and configuration needed to run a container. Images are built once and can be reused to create multiple containers. Example: nginx:latest, ubuntu:24.04
Container A Container is a running instance of a Docker image.
It is lightweight, isolated, and shares the host operating system kernel while running independently from other containers.
Key points:
- Fast startup
- Portable across environments
- Uses fewer resources than virtual machines
Port Mapping Port mapping connects a port on the host machine to a port inside the container, allowing external access to services running inside the container.
Example:
docker run -p 8080:80 nginx
- 8080 → Host port
- 80 → Container port
This allows accessing the containerized application via:
http://localhost:8080
Docker Lifecycle The typical container lifecycle follows these stages:
- Create – Container is created from an image.
- Run – Container starts executing the application.
- Stop – Execution is paused or terminated.
- Remove – Container is deleted when no longer needed.
Procedure Step 1 — Pull Docker Image
docker pull nginx

Downloads the official nginx image from Docker Hub.
Step 2 — Run Container with Port Mapping
docker run -d -p 8080:80 --name nginx-container nginx

- d → detached mode
- p 8080:80 → host port 8080 mapped to container port 80
- -name → custom container name
Step 3 — Verify Running Container
docker ps

Then verify Nginx:
curl localhost:8080
OR open browser:
http://localhost:8080
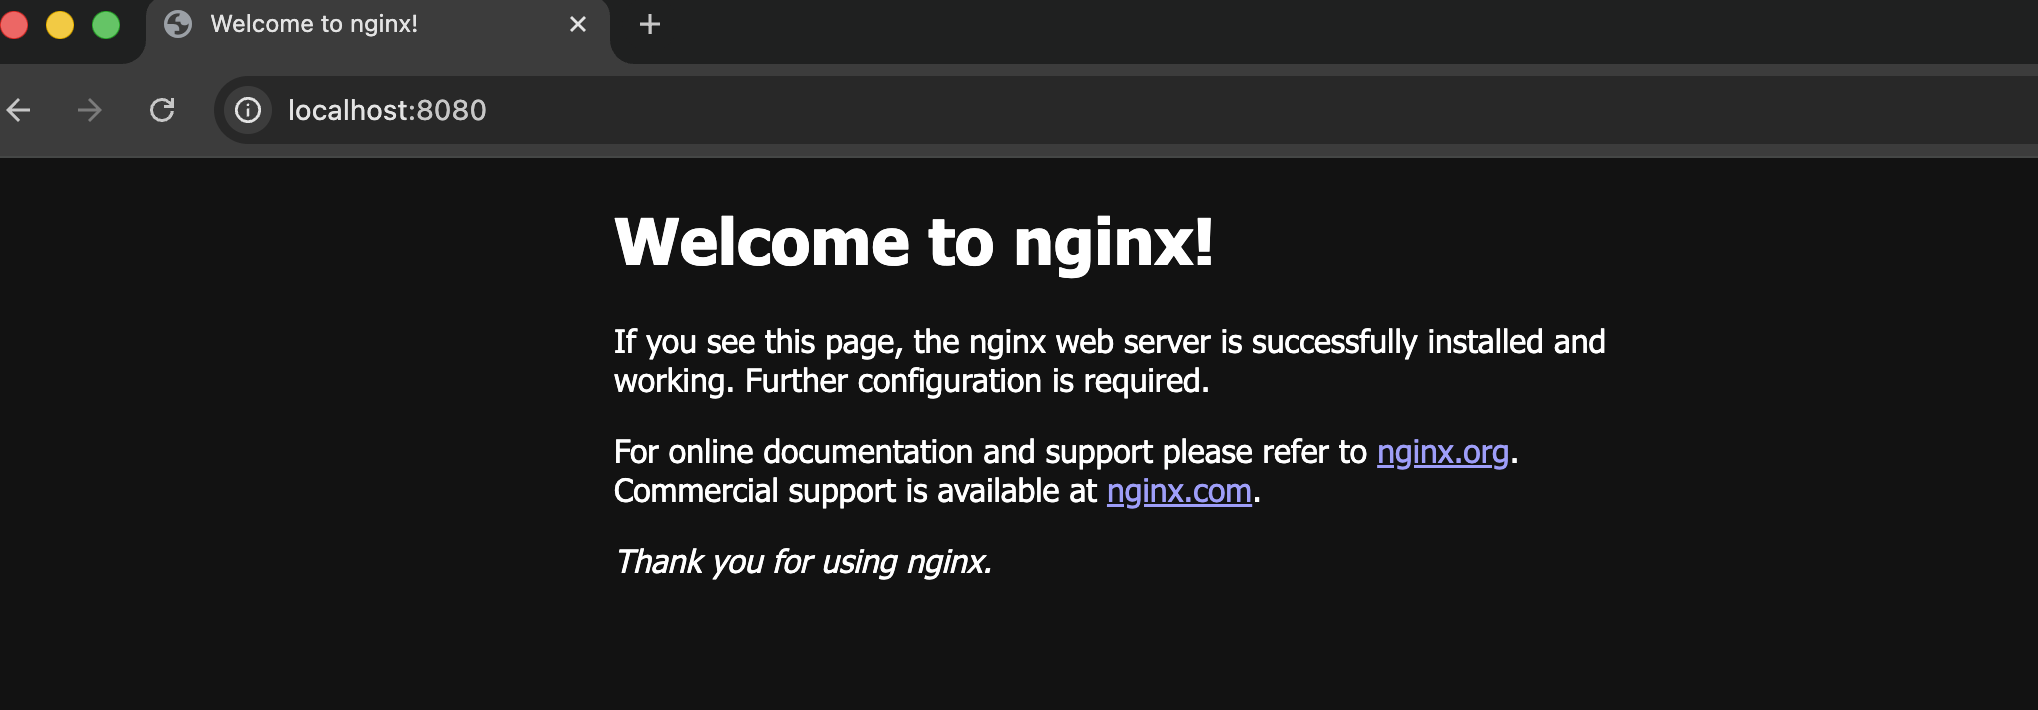
You should see “Welcome to nginx!”
Step 4 — Stop Container
docker stop nginx-container
ananyakarn@Ananyas-MacBook-Air-2 containerisation-devOps-AnanyaKarn-500125205-B3-ccvt % docker stop nginx-container
nginx-container
ananyakarn@Ananyas-MacBook-Air-2 containerisation-devOps-AnanyaKarn-500125205-B3-ccvt %
Step 5 — Remove Container
docker rm nginx-container
ananyakarn@Ananyas-MacBook-Air-2 containerisation-devOps-AnanyaKarn-500125205-B3-ccvt % docker rm nginx-container
nginx-container
ananyakarn@Ananyas-MacBook-Air-2 containerisation-devOps-AnanyaKarn-500125205-B3-ccvt %
Step 6 — Remove Images
docker rmi nginx
ananyakarn@Ananyas-MacBook-Air-2 containerisation-devOps-AnanyaKarn-500125205-B3-ccvt % docker rmi nginx
Untagged: nginx:latest
Deleted: sha256:341bf0f3ce6c5277d6002cf6e1fb0319fa4252add24ab6a0e262e0056d313208
ananyakarn@Ananyas-MacBook-Air-2 containerisation-devOps-AnanyaKarn-500125205-B3-ccvt %
If image in use → stop/remove container first.
Container Lifecycle Summary
Image → Container Created → Running → Stopped → Removed
Observations Image pulled successfully from Docker Hub
- Container exposed nginx service on port 8080
- docker ps shows active containers
- Containers start quickly with minimal overhead
Result Docker image was successfully pulled, container executed with port mapping, verified through browser output, and lifecycle operations (stop, remove, image removal) were completed successfully.
Conclusion The experiment demonstrated Docker fundamentals including image pulling, container execution, and lifecycle management. It shows how containers provide lightweight and efficient application deployment.
Experiment -3
Date: February 4, 2026
Ex-3 Deploying NGINX Using Different Base Images and Comparing Image Layers
Terminologies:
Base Image A base image is the starting image used in a Dockerfile using the FROM instruction.
Examples used in this experiment:
- nginx:latest
- ubuntu:22.04
- alpine:latest
The base image significantly affects:
- Image size
- Security surface
- Startup time
- Performance
NGINX NGINX is a high-performance web server, reverse proxy, and load balancer. In containerized environments, NGINX is commonly used to:
- Serve static content
- Act as a reverse proxy
- Load balance multiple backend services
Official Docker Image An official Docker image is an image maintained by the software vendor or Docker, following best practices for security, updates, and performance.
The nginx:latest image is an official image and is production-ready.
Ubuntu-Based Image An Ubuntu-based image uses the Ubuntu Linux distribution as the base OS.
Characteristics:
- Large image size
- Full OS utilities available
- Easier debugging
- Larger attack surface
Used mainly for learning and debugging, not production.
Alpine Linux Alpine Linux is a minimal, security-focused Linux distribution designed for containers.
Characteristics:
- Very small size
- Uses musl libc instead of glibc
- Faster image pull and startup
- Minimal packages
Highly preferred in microservices and cloud environments.
Port Mapping Port mapping connects a container port to a host machine port using -p host_port:container_port.
Example:
-p 8080:80
This allows access to container services via the host browser.
Reverse Proxy A reverse proxy is a server that forwards client requests to backend servers.
NGINX commonly acts as a reverse proxy in containerized and microservices architectures.
Attack Surface Attack surface refers to the number of potential vulnerabilities in a system.
Larger images (like Ubuntu-based) have:
- More packages
- More system utilities
- Higher attack surface
Smaller images (like Alpine) reduce security risks.
Microservices Microservices is an architectural style where applications are built as small, independent services.
Alpine-based NGINX images are ideal for microservices due to:
- Small size
- Fast startup
- Low resource usage
CI/CD Pipeline CI/CD (Continuous Integration / Continuous Deployment) automates building, testing, and deploying applications. Smaller images like Alpine improve pipeline speed and efficiency.
Aim To deploy NGINX using different Docker base images (Official, Ubuntu, and Alpine), compare their image sizes and layers, and analyze performance, security, and real-world use cases in containerised environments.
Objectives
- Deploy NGINX using:
- Official NGINX image
- Ubuntu-based image
- Alpine-based image
- Compare Docker image sizes and layers
- Understand the impact of base images on performance and security
- Identify real-world use cases of each approach
PART 1: OFFICIAL NGINX IMAGE
docker pull nginx:latest
output:
5-B3-ccvt % docker pull nginx:latest
latest: Pulling from library/nginx
Digest: sha256:9dd288848f4495869f76676e419ae2d767ca99fece2ec37ec0261f9fdaab5204
Status: Image is up to date for nginx:latest
docker.io/library/nginx:latest
Step 2: Run container
docker run -d --name nginx-official -p 8080:80 nginx
output:
5-B3-ccvt % docker run -d --name nginx-official -p 8080:80 nginx
b803d61c0b08d105b0c2d806258556a4ec44794d59e621ee0aba272497883d55
ananyakarn@Ananyas-MacBook-Air-2 containerisation-devOps-AnanyaKarn-500125205-B3-ccvt %
Step 3: Verify
http://localhost:8080

PART 2: NGINX USING UBUNTU BASE IMAGE
Step 1: Create a folder
mkdir nginx-ubuntu
cd nginx-ubuntu
Creating a Dockerfile
nano Dockerfile
add this to Dockerfile:
FROM ubuntu:22.04
RUN apt-get update && \
    apt-get install -y nginx && \
    apt-get clean && \
    rm -rf /var/lib/apt/lists/*
EXPOSE 80
CMD ["nginx", "-g", "daemon off;"]
Build Image
docker build -t nginx-ubuntu .
Output:
ananyakarn@Ananyas-MacBook-Air-2 nginx-ubuntu % docker build -t nginx-ubuntu .
[+] Building 30.6s (6/6) FINISHED                      docker:desktop-linux
 => [internal] load build definition from Dockerfile                   0.0s
 => => transferring dockerfile: 215B                                   0.0s
 => [internal] load metadata for docker.io/library/ubuntu:22.04        0.1s
 => [internal] load .dockerignore                                      0.0s
 => => transferring context: 2B                                        0.0s
 => CACHED [1/2] FROM docker.io/library/ubuntu:22.04@sha256:c7eb02004  0.0s
 => => resolve docker.io/library/ubuntu:22.04@sha256:c7eb020043d8fc2a  0.0s
 => [2/2] RUN apt-get update &&     apt-get install -y nginx &&       27.8s
 => exporting to image                                                 2.5s
 => => exporting layers                                                2.0s
 => => exporting manifest sha256:361a2c1ac01d409fa134cd46e1719118e814  0.0s
 => => exporting config sha256:880dc5e63abc808ad34026a17d9eddb786fce7  0.0s
 => => exporting attestation manifest sha256:42fdd1efb6adf1b1492ba7ae  0.0s
 => => exporting manifest list sha256:6955e8a1dc779bc1fb2f414d86dfe81  0.0s
 => => naming to docker.io/library/nginx-ubuntu:latest                 0.0s
 => => unpacking to docker.io/library/nginx-ubuntu:latest              0.5s

View build details: docker-desktop://dashboard/build/desktop-linux/desktop-linux/qgvzb768v5ir6atrzdafmdkyy
ananyakarn@Ananyas-MacBook-Air-2 nginx-ubuntu %
Step 4: Run container
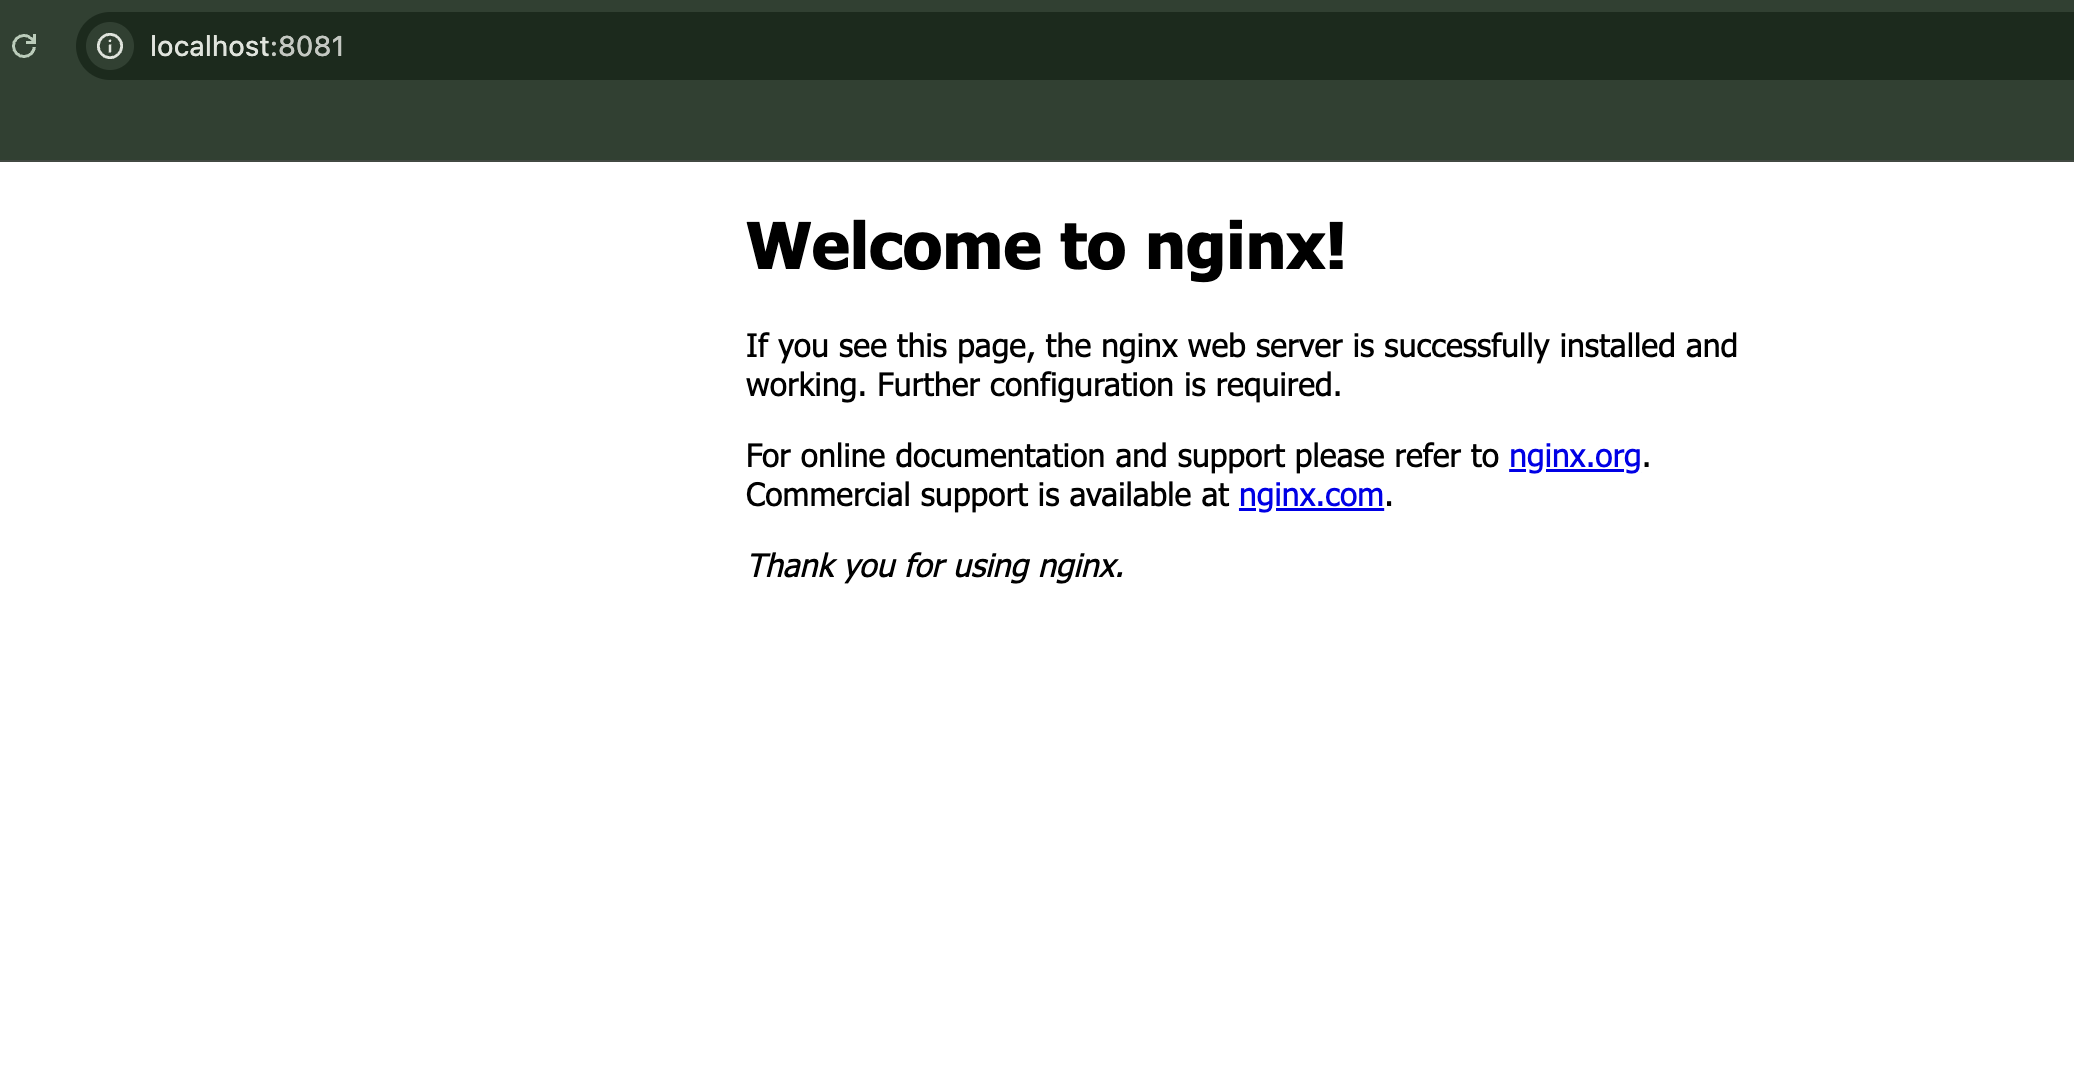
docker run -d --name nginx-ubuntu -p 8081:80 nginx-ubuntu
Output:
ananyakarn@Ananyas-MacBook-Air-2 nginx-ubuntu % docker run -d --name nginx-ubuntu -p 8081:80 nginx-ubuntu
9465cd7ffc708fae44675c552b07872cadfd9ad32b560bab82471e21a9c0e9f6
ananyakarn@Ananyas-MacBook-Air-2 nginx-ubuntu %
Open Browser:
Step 5: Check size
docker images | grep nginx
ananyakarn@Ananyas-MacBook-Air-2 nginx-ubuntu % docker images | grep nginx
WARNING: This output is designed for human readability. For machine-readable output, please use --format.
nginx-ubuntu:latest        6955e8a1dc77        187MB         50.5MB   U
nginx:latest               9dd288848f44        258MB         64.1MB   U
ananyakarn@Ananyas-MacBook-Air-2 nginx-ubuntu %
PART 3: NGINX USING ALPINE BASE IMAGE
- Create a folder
cd ..
mkdir nginx-alpine
cd nginx-alpine
ananyakarn@Ananyas-MacBook-Air-2 nginx-alpine %
Step 2: Dockerfile
nano Dockerfile
add this to the nano file:
FROM alpine:latest
RUN apk add --no-cache nginx
EXPOSE 80
CMD ["nginx", "-g", "daemon off;"]
Step 3: Build image
docker build -t nginx-alpine .
ananyakarn@Ananyas-MacBook-Air-2 nginx-alpine % docker build -t nginx-alpine .
[+] Building 12.4s (7/7) FINISHED                      docker:desktop-linux
 => [internal] load build definition from Dockerfile                   0.0s
 => => transferring dockerfile: 130B                                   0.0s
 => [internal] load metadata for docker.io/library/alpine:latest      10.7s
 => [auth] library/alpine:pull token for registry-1.docker.io          0.0s
 => [internal] load .dockerignore                                      0.0s
 => => transferring context: 2B                                        0.0s
 => [1/2] FROM docker.io/library/alpine:latest@sha256:25109184c71bdad  0.0s
 => => resolve docker.io/library/alpine:latest@sha256:25109184c71bdad  0.0s
 => [2/2] RUN apk add --no-cache nginx                                 1.5s
 => exporting to image                                                 0.2s
 => => exporting layers                                                0.1s
 => => exporting manifest sha256:59d4ed14a60711393d6d0153be8b1e7d239a  0.0s
 => => exporting config sha256:9c9f34e6039f06813c62ee8fd30c80b8ebd487  0.0s
 => => exporting attestation manifest sha256:db4357c25af73e9c63c8e74f  0.0s
 => => exporting manifest list sha256:7aed72a533184c9a8b465bb0500769f  0.0s
 => => naming to docker.io/library/nginx-alpine:latest                 0.0s
 => => unpacking to docker.io/library/nginx-alpine:latest              0.0s

View build details: docker-desktop://dashboard/build/desktop-linux/desktop-linux/r0c3fmg15m5uja3b6zpknxlkz
ananyakarn@Ananyas-MacBook-Air-2 nginx-alpine %
Step 4: Run container
docker run -d --name nginx-alpine -p 8082:80 nginx-alpine
ananyakarn@Ananyas-MacBook-Air-2 nginx-alpine % docker run -d --name nginx-alpine -p 8082:80 nginx-alpine
f9556333adcd483baf606220045486ef96c016a08f897dbfeb78a70f0eaefe79
ananyakarn@Ananyas-MacBook-Air-2 nginx-alpine %
Image size comparison
docker images | grep nginx
ananyakarn@Ananyas-MacBook-Air-2 nginx-alpine % docker images | grep nginx
WARNING: This output is designed for human readability. For machine-readable output, please use --format.
nginx-alpine:latest        7aed72a53318       16.7MB         5.08MB   U
nginx-ubuntu:latest        6955e8a1dc77        187MB         50.5MB   U
nginx:latest               9dd288848f44        258MB         64.1MB   U
ananyakarn@Ananyas-MacBook-Air-2 nginx-alpine %
PART 4: IMAGE LAYERS
docker history nginx
ananyakarn@Ananyas-MacBook-Air-2 nginx-alpine % docker history nginx
IMAGE          CREATED        CREATED BY                                      SIZE      COMMENT
9dd288848f44   27 hours ago   CMD ["nginx" "-g" "daemon off;"]                0B        buildkit.dockerfile.v0
<missing>      27 hours ago   STOPSIGNAL SIGQUIT                              0B        buildkit.dockerfile.v0
<missing>      27 hours ago   EXPOSE map[80/tcp:{}]                           0B        buildkit.dockerfile.v0
<missing>      27 hours ago   ENTRYPOINT ["/docker-entrypoint.sh"]            0B        buildkit.dockerfile.v0
<missing>      27 hours ago   COPY 30-tune-worker-processes.sh /docker-ent…   16.4kB    buildkit.dockerfile.v0
<missing>      27 hours ago   COPY 20-envsubst-on-templates.sh /docker-ent…   12.3kB    buildkit.dockerfile.v0
<missing>      27 hours ago   COPY 15-local-resolvers.envsh /docker-entryp…   12.3kB    buildkit.dockerfile.v0
<missing>      27 hours ago   COPY 10-listen-on-ipv6-by-default.sh /docker…   12.3kB    buildkit.dockerfile.v0
<missing>      27 hours ago   COPY docker-entrypoint.sh / # buildkit          8.19kB    buildkit.dockerfile.v0
<missing>      27 hours ago   RUN /bin/sh -c set -x     && groupadd --syst…   84.2MB    buildkit.dockerfile.v0
<missing>      27 hours ago   ENV DYNPKG_RELEASE=1~trixie                     0B        buildkit.dockerfile.v0
<missing>      27 hours ago   ENV PKG_RELEASE=1~trixie                        0B        buildkit.dockerfile.v0
<missing>      27 hours ago   ENV ACME_VERSION=0.3.1                          0B        buildkit.dockerfile.v0
<missing>      27 hours ago   ENV NJS_RELEASE=1~trixie                        0B        buildkit.dockerfile.v0
<missing>      27 hours ago   ENV NJS_VERSION=0.9.4                           0B        buildkit.dockerfile.v0
<missing>      27 hours ago   ENV NGINX_VERSION=1.29.4                        0B        buildkit.dockerfile.v0
<missing>      27 hours ago   LABEL maintainer=NGINX Docker Maintainers <d…   0B        buildkit.dockerfile.v0
<missing>      2 days ago     # debian.sh --arch 'arm64' out/ 'trixie' '@1…   109MB     debuerreotype 0.17
ananyakarn@Ananyas-MacBook-Air-2 nginx-alpine %
docker history nginx-ubuntu
ananyakarn@Ananyas-MacBook-Air-2 nginx-alpine % docker history nginx-ubuntu
IMAGE          CREATED       CREATED BY                                      SIZE      COMMENT
6955e8a1dc77   2 hours ago   CMD ["nginx" "-g" "daemon off;"]                0B        buildkit.dockerfile.v0
<missing>      2 hours ago   EXPOSE [80/tcp]                                 0B        buildkit.dockerfile.v0
<missing>      2 hours ago   RUN /bin/sh -c apt-get update &&     apt-get…   57.5MB    buildkit.dockerfile.v0
<missing>      3 weeks ago   /bin/sh -c #(nop)  CMD ["/bin/bash"]            0B
<missing>      3 weeks ago   /bin/sh -c #(nop) ADD file:643ece0a7a3a6026f…   79.1MB
<missing>      3 weeks ago   /bin/sh -c #(nop)  LABEL org.opencontainers.…   0B
<missing>      3 weeks ago   /bin/sh -c #(nop)  LABEL org.opencontainers.…   0B
<missing>      3 weeks ago   /bin/sh -c #(nop)  ARG LAUNCHPAD_BUILD_ARCH     0B
<missing>      3 weeks ago   /bin/sh -c #(nop)  ARG RELEASE                  0B
ananyakarn@Ananyas-MacBook-Air-2 nginx-alpine %
docker history nginx-alpine
ananyakarn@Ananyas-MacBook-Air-2 nginx-alpine % docker history nginx-alpine
IMAGE          CREATED       CREATED BY                                      SIZE      COMMENT
7aed72a53318   2 hours ago   CMD ["nginx" "-g" "daemon off;"]                0B        buildkit.dockerfile.v0
<missing>      2 hours ago   EXPOSE [80/tcp]                                 0B        buildkit.dockerfile.v0
<missing>      2 hours ago   RUN /bin/sh -c apk add --no-cache nginx # bu…   2.3MB     buildkit.dockerfile.v0
<missing>      7 days ago    CMD ["/bin/sh"]                                 0B        buildkit.dockerfile.v0
<missing>      7 days ago    ADD alpine-minirootfs-3.23.3-aarch64.tar.gz …   9.36MB    buildkit.dockerfile.v0
ananyakarn@Ananyas-MacBook-Air-2 nginx-alpine %
PART 5: FUNCTIONAL TASK – SERVING CUSTOM HTML USING NGINX
Step 1: Create Custom HTML File
mkdir html
echo "<h1>Hello from Docker NGINX</h1>" > html/index.html
Image Comparison Table
| Feature | Official NGINX Image | Ubuntu-based Image | Alpine-based Image |
|---|---|---|---|
| Image Size | Medium | Large | Very Small |
| Startup Time | Fast | Slow | Very Fast |
| Security Surface | Medium | Large | Small |
| Debugging Tools | Limited | Excellent | Minimal |
| Ease of Use | Very Easy | Medium | Medium |
| Production Ready | Yes | Rarely | Yes |
PART 6: WHEN TO USE WHICH IMAGE Official NGINX Image Recommended for:
- Production deployments
- Standard web hosting
- Reverse proxy or load balancer setup
Ubuntu-Based Image Recommended for:
- Learning Linux + NGINX internals
- Debugging environments
- Custom system-level dependencies
Alpine-Based Image Recommended for:
- Microservices architectures
- Cloud-native applications
- CI/CD pipelines and Kubernetes workloads
PART 7: OBSERVATIONS
- Alpine image showed the smallest size and fewer layers, resulting in faster image pull and startup time.
- Ubuntu-based image provided more utilities but increased size and attack surface.
- Official NGINX image offered a balanced approach between optimization and usability.
- Docker image layers help optimize build caching and storage reuse.
RESULT NGINX was successfully deployed using Official, Ubuntu-based, and Alpine-based Docker images. Image size and layer analysis demonstrated the impact of base image selection on performance, security, and resource utilization.
CONCLUSION The experiment demonstrated that base image selection plays a critical role in container performance, security, and portability. Alpine-based images are best suited for lightweight microservices, Ubuntu-based images are useful for debugging and learning, while official NGINX images are preferred for production-ready deployments.
EXPERIMENT-4 Docker Essentials
Docker Essentials — Dockerfile, .dockerignore, Tagging and Publishing**
Aim / Objective To containerize a simple application using Dockerfile, optimize the build process using .dockerignore, build and tag Docker images, run and manage containers, and understand the basics of image versioning and publishing workflows.
THEORY / BACKGROUND
Dockerfile A Dockerfile is a set of instructions used to automate the creation of Docker images. Each instruction creates a layer in the image, making builds reproducible and portable across environments.
.dockerignore The .dockerignore file prevents unnecessary files from being copied into the Docker image during build. This improves:
- Build speed
- Image size
- Security
- Performance
Image Tagging Tagging assigns version labels to images, allowing better version control and deployment management.
Example:
- my-flask-app:latest
- my-flask-app:1.0
Container Lifecycle Containers usually follow this lifecycle:
Image → Run → Running → Stop → Remove
Understanding this is essential for container management in DevOps workflows.
Software & Hardware Requirements
| Component | Details |
|---|---|
| Host OS | macOS (Apple Silicon) |
| Container Platform | Docker Desktop |
| Language | Python |
| Framework | Flask |
| Editor | VS Code / Terminal |
| Internet | Required |
PROCEDURE PART 1 — Creating a Simple Flask Application
Step 1: Create Project Folder
mkdir my-flask-app
cd my-flask-app

Step 2: Create app.py
from flask import Flask

app = Flask(__name__)

@app.route('/')
def hello():
    return "Hello from Docker!"

@app.route('/health')
def health():
    return "OK"

if __name__ == '__main__':
    app.run(host='0.0.0.0', port=5000)
Step 3: Create requirements.txt
Flask==2.3.3
PART 2 — Creating Dockerfile
Create a file named Dockerfile:
FROM python:3.9-slim

WORKDIR /app

COPY requirements.txt .

RUN pip install --no-cache-dir -r requirements.txt

COPY app.py .

EXPOSE 5000

CMD ["python", "app.py"]
- Uses lightweight Python base image
- Sets working directory
- Installs dependencies
- Copies application code
- Exposes app port
- Defines startup command
PART 3 — Creating .dockerignore
Create file:
__pycache__/
*.pyc
*.pyo
.env
.venv
.vscode/
.idea/
.git/
.DS_Store
*.log
This prevents unnecessary files from entering the image, reducing size and improving security.
PART 4 — Building Docker Image
Run:
docker build -t my-flask-app .
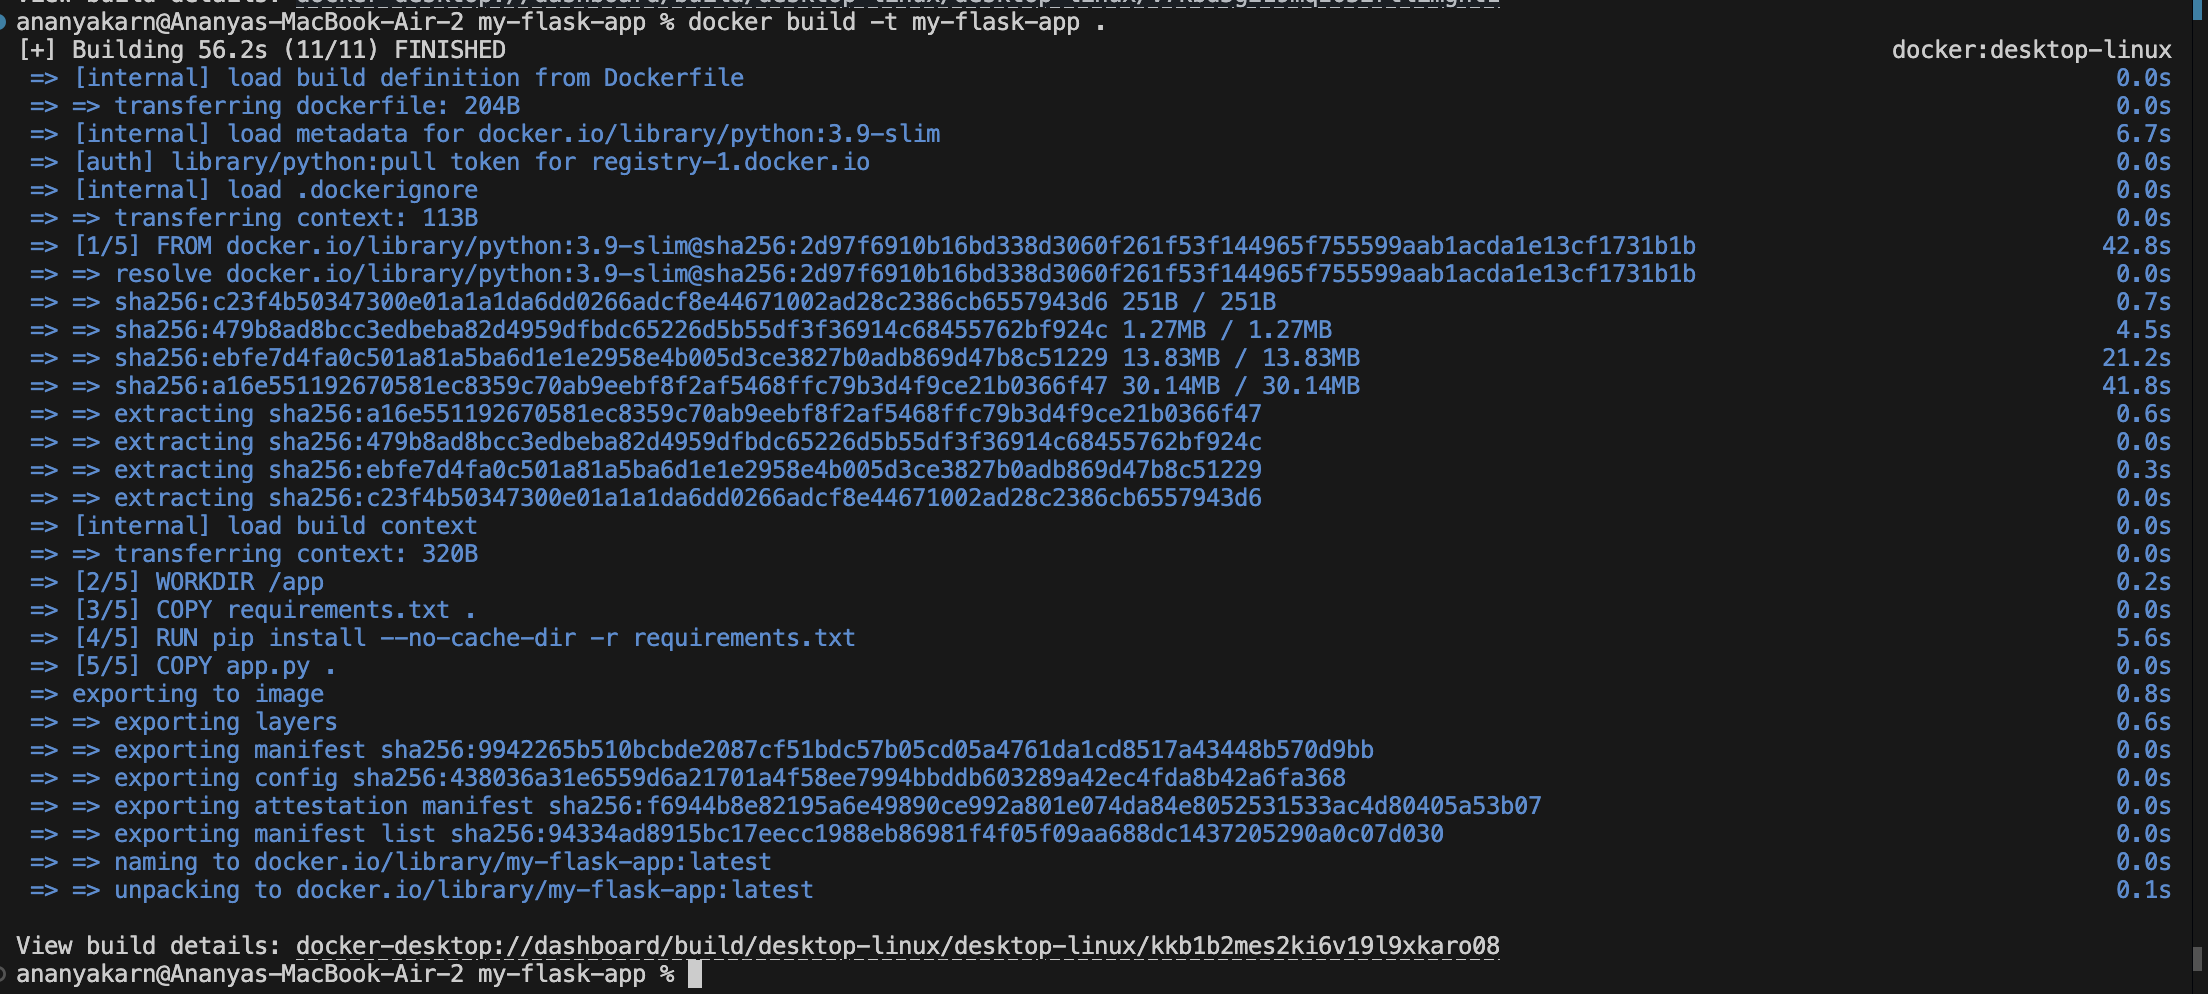
Then:
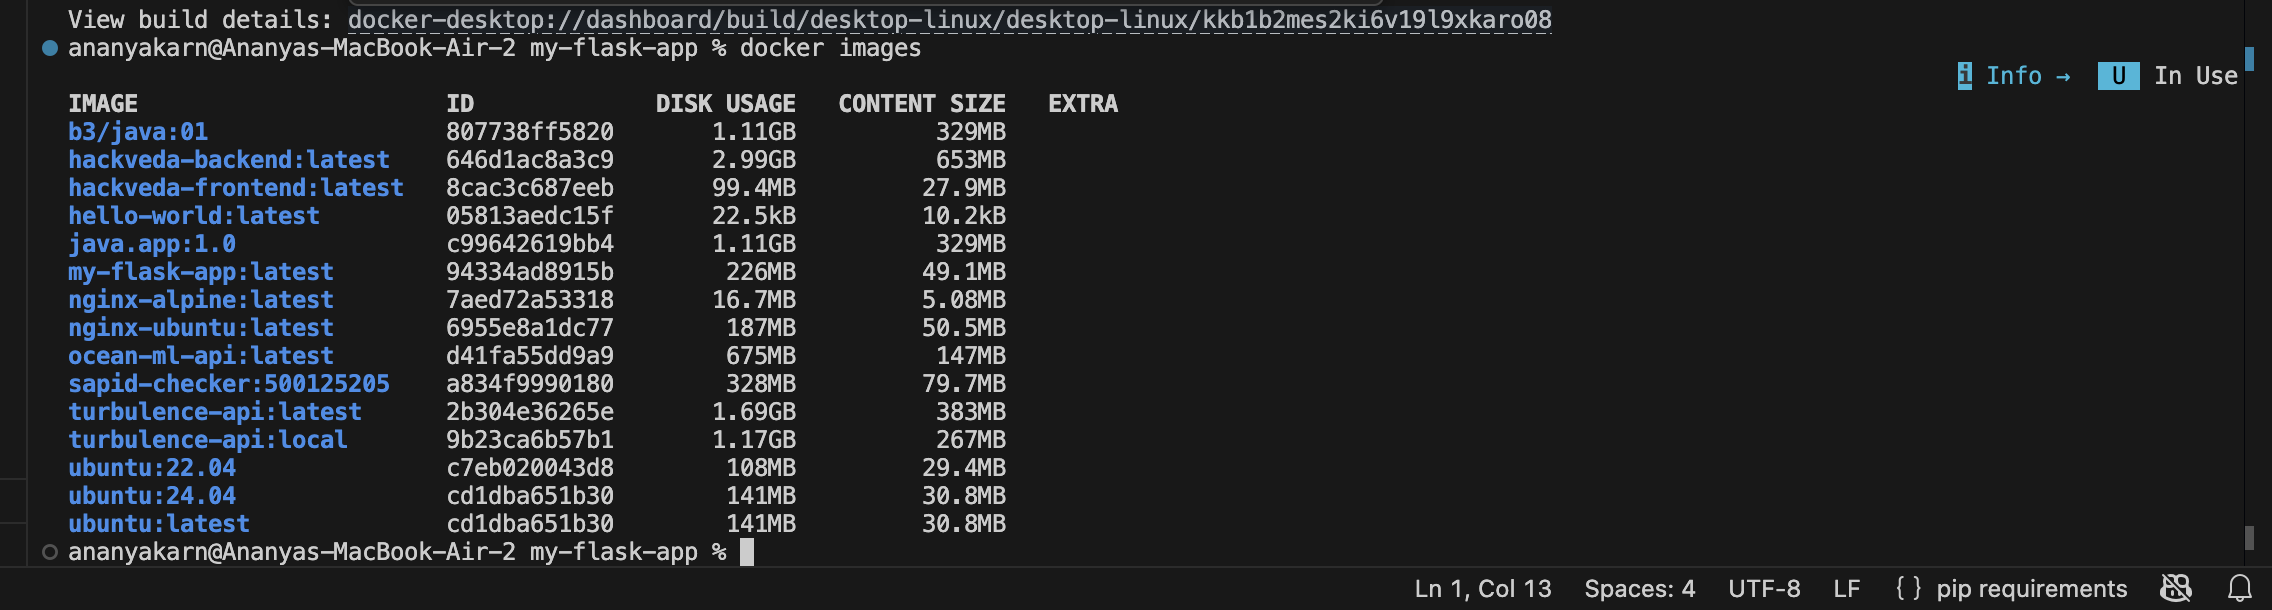
docker images
PART 5 — Running the Container
Run:
docker run -d -p 5000:5000 --name flask-container my-flask-app
ananyakarn@Ananyas-MacBook-Air-2 my-flask-app % docker run -d -p 5001:5000 --name flask-container my-flask-app
34f2aef1e0c594d3c24fda88cc61ee855be01591ab49b0f0478e50de37fb9c20
ananyakarn@Ananyas-MacBook-Air-2 my-flask-app %
Verifying:
ananyakarn@Ananyas-MacBook-Air-2 my-flask-app % curl http://localhost:5001
Hello from Docker!%
ananyakarn@Ananyas-MacBook-Air-2 my-flask-app %
Check running containers:
docker ps

Check container logs
docker logs flask-container

PART 6 — Container Management
docker stop flask-container
docker start flask-container
docker rm -f flask-container

PART 7 — Image Tagging
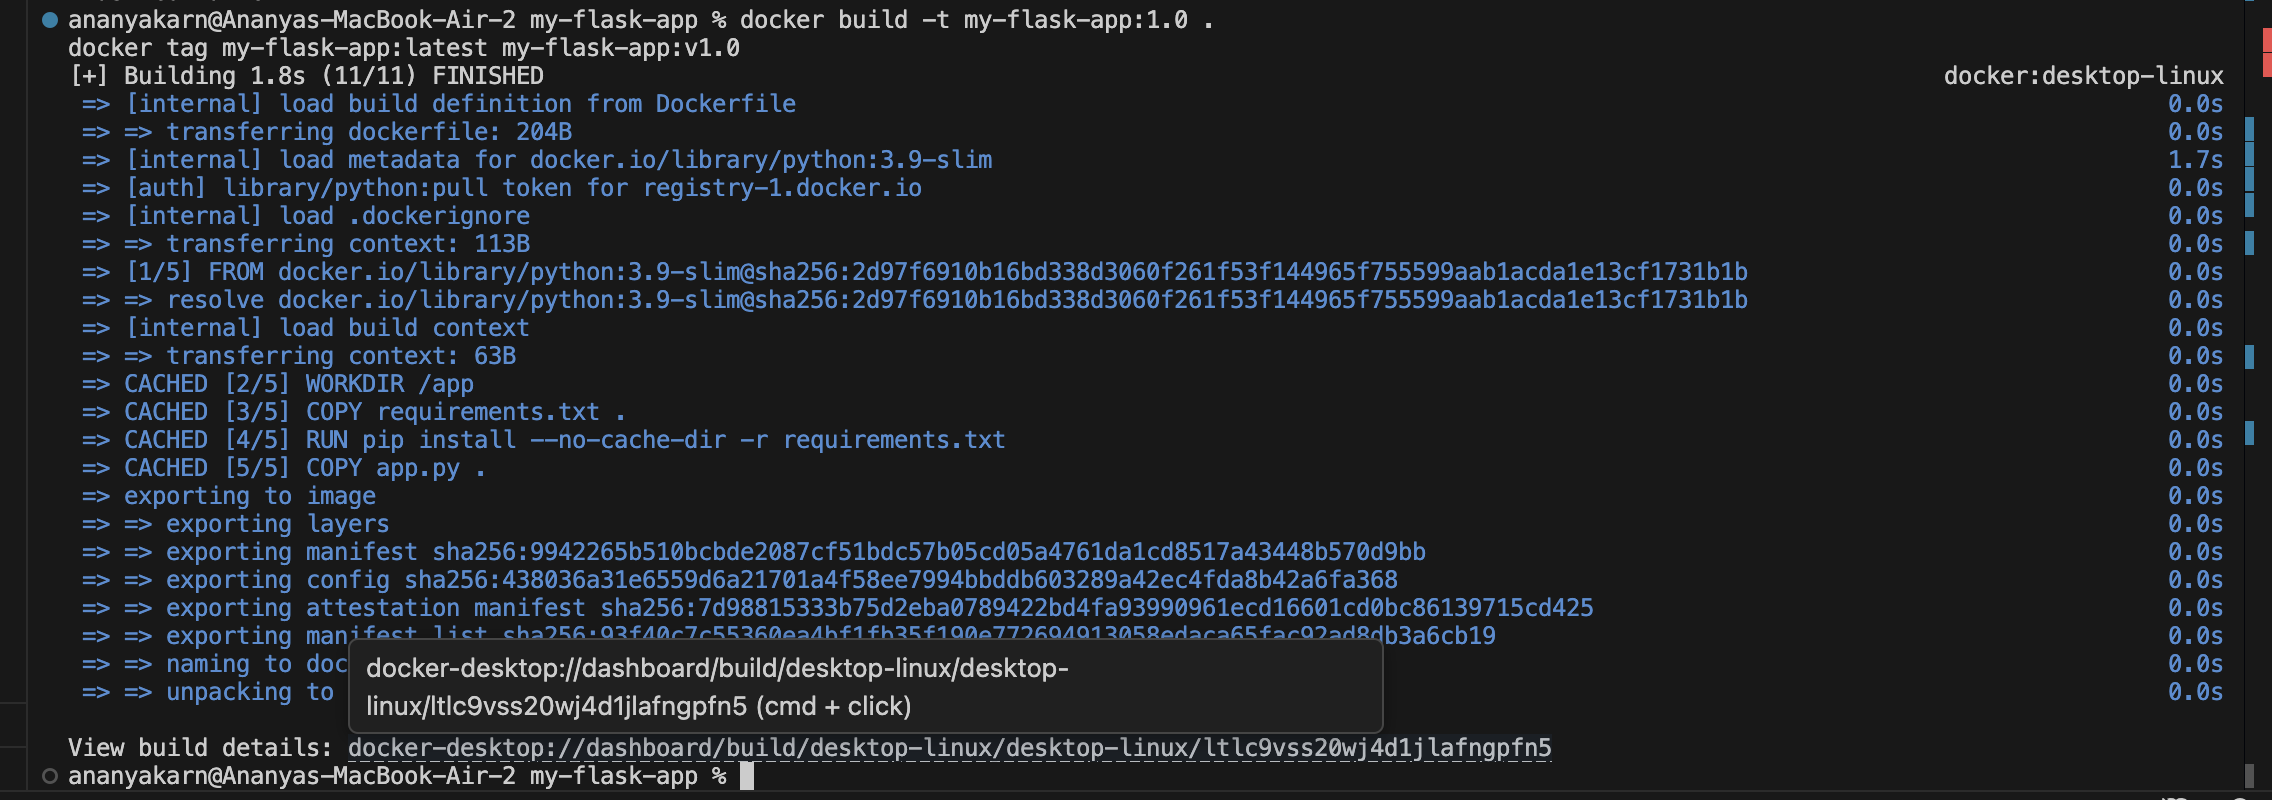
docker build -t my-flask-app:1.0 .
docker tag my-flask-app:latest my-flask-app:v1.0
Then:
docker images
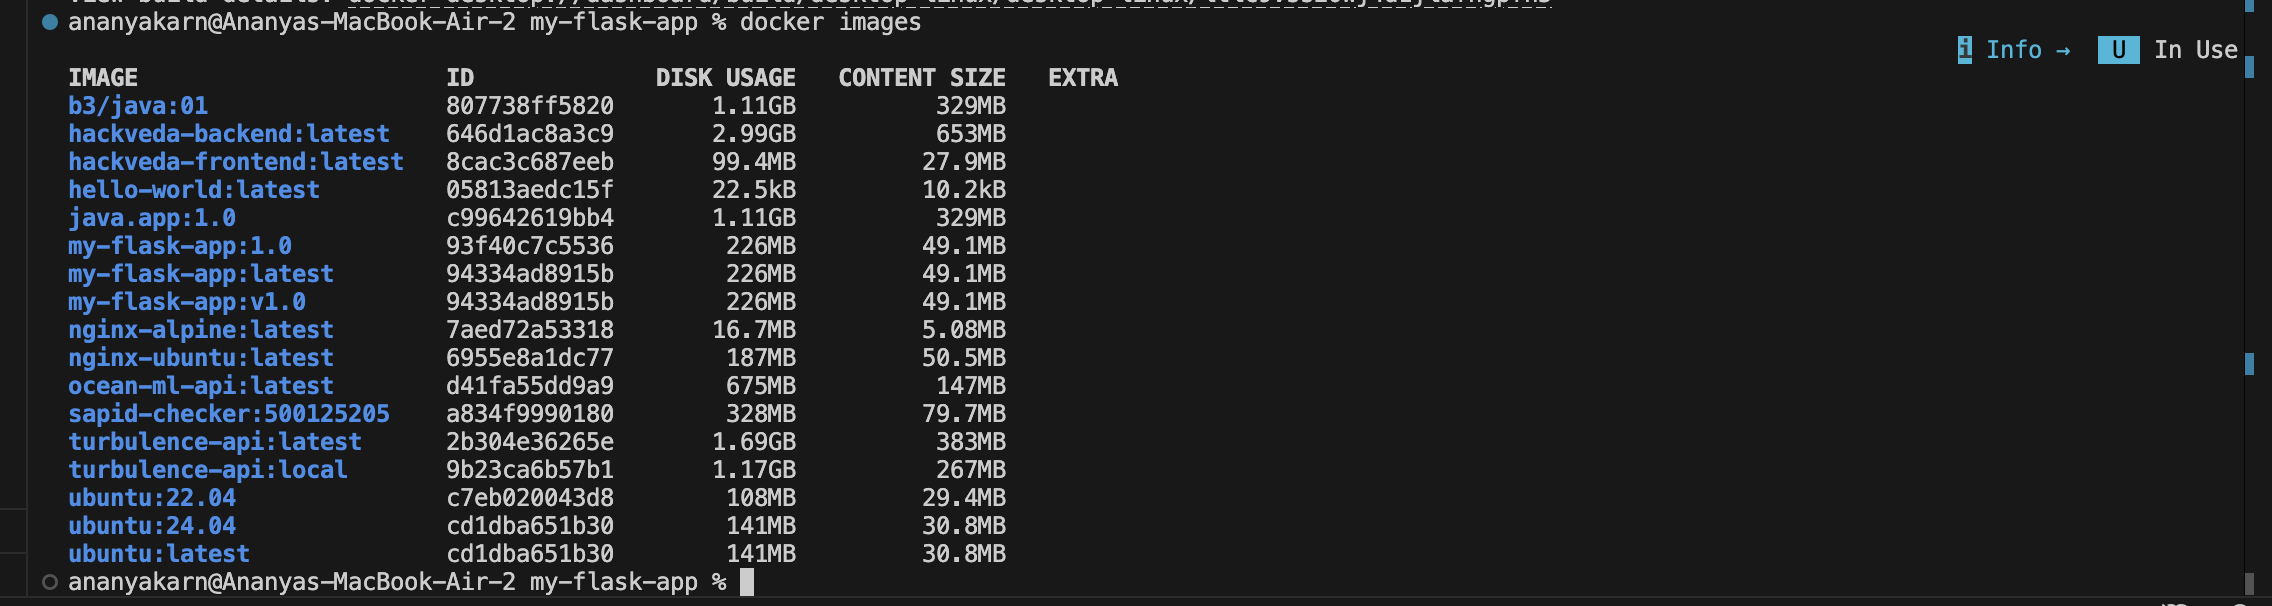
Tagging helps maintain versions for deployment and rollback.
Observations we could observe from here:
- Flask app runs successfully inside container.
- Dockerfile simplifies deployment.
- .dockerignore reduces unnecessary files.
- Tagging allows version management.
- Container logs confirm application execution.
Result A Flask application was successfully containerized using Dockerfile. The container was executed, verified, and managed through Docker lifecycle commands. Image tagging and build optimization concepts were demonstrated.
Conclusion This experiment demonstrated essential Docker concepts including application containerization, image creation, .dockerignore optimization, image tagging, and container lifecycle management, forming the foundation for real-world DevOps workflows.
Experiment 5
Docker Volumes, Environment Variables, Monitoring and Networks
Aim
To understand Docker data persistence using volumes, configure environment variables in containers, monitor container activity, and establish communication between containers using custom Docker networks.
Objectives
- Study the ephemeral nature of container storage
- Implement named volumes and bind mounts
- Pass environment variables using different methods
- Monitor container performance and logs
- Create and manage Docker networks
- Enable container-to-container communication
Part 1: Understanding Data Persistence
Step 1: Run Ubuntu Container
docker run -it --name test-container ubuntu /bin/bash

Inside the container:
mkdir /data
echo "Hello World" > /data/message.txt
cat /data/message.txt

Exit the container:
exit
Restart the container:
docker start test-container
docker exec test-container cat /data/message.txt

Observation
The file created earlier is not available after container restart if the container was removed. This shows that container storage is temporary unless a volume is attached.
Part 2: Docker Volumes
Step 2: Create a Named Volume
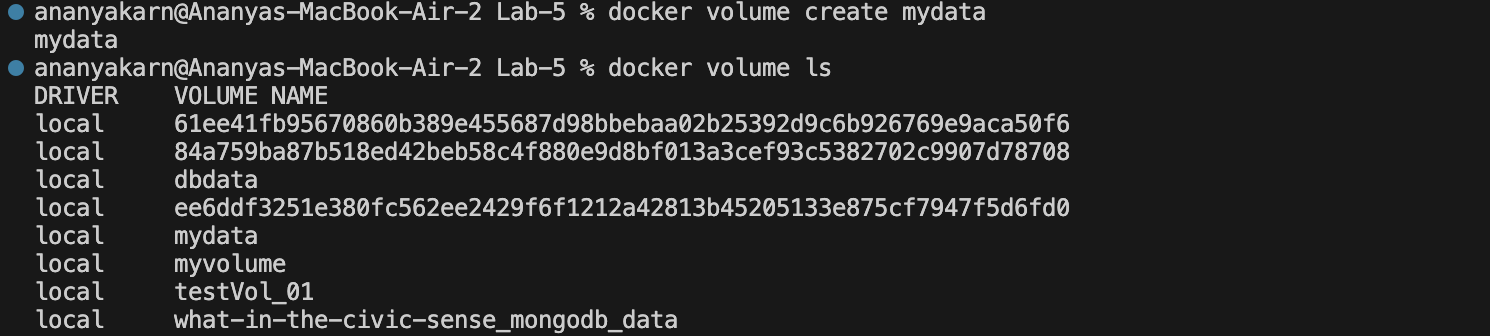
docker volume create mydata
docker volume ls
Step 3: Run Container with Volume Attached
docker run -d -v mydata:/app/data --name web-volume nginx

Verify volume attachment:
docker inspect web-volume
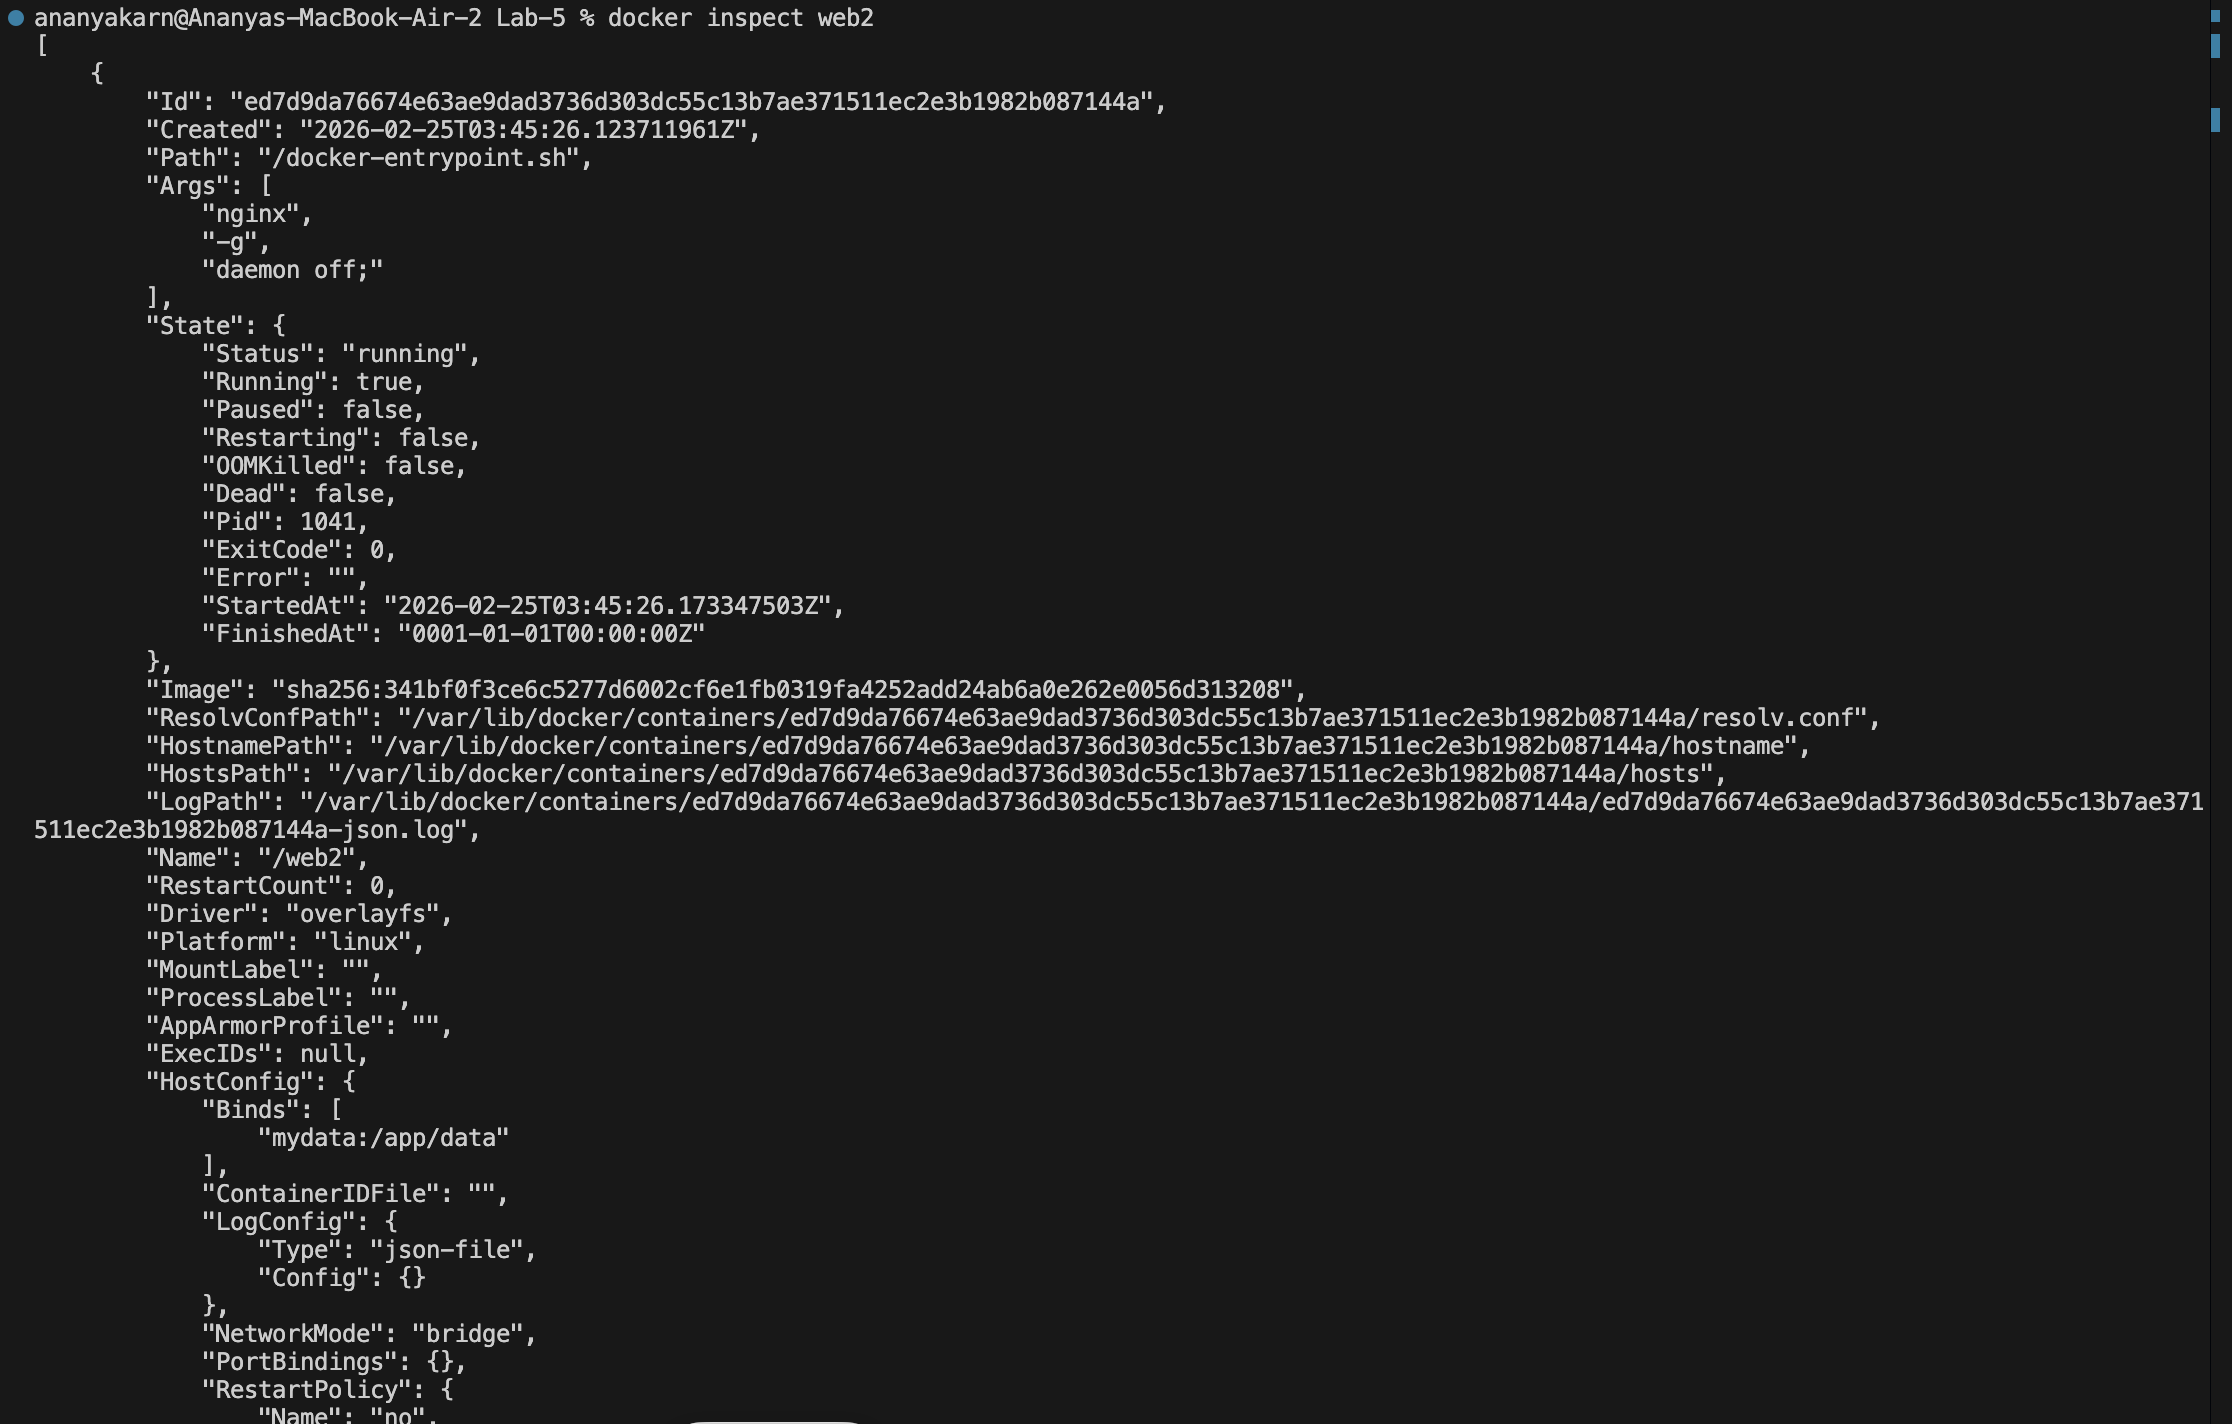
Observations
The volume mydata is mounted inside the container at /app/data.
Part 3: Bind Mount
Step 4: Create Directory on Host
mkdir ~/myapp-data

Run container with bind mount:
docker run -d -v ~/myapp-data:/app/data --name web-bind nginx
Create file on host:
echo "From Host" > ~/myapp-data/host-file.txt
Verify inside container:
docker exec web-bind cat /app/data/host-file.txt

Observation
Data created on the host machine is accessible inside the container through bind mount.
Part 4: Environment Variables
Step 5: Passing Variables using -e Flag
docker run -d \
-e VAR1=value1 \
-e VAR2=value2 \
--name env-test \
nginx
Inspect environment variables:
docker exec env-test printenv

Step 6: Using .env File
Create a file named .env:
echo "API_KEY=secret123" > .env
Run container using env file:
docker run -d --env-file .env --name env-file-test nginx

Verify variables:
docker exec env-file-test printenv

Part 5: Monitoring Containers
Step 7: View Running Containers
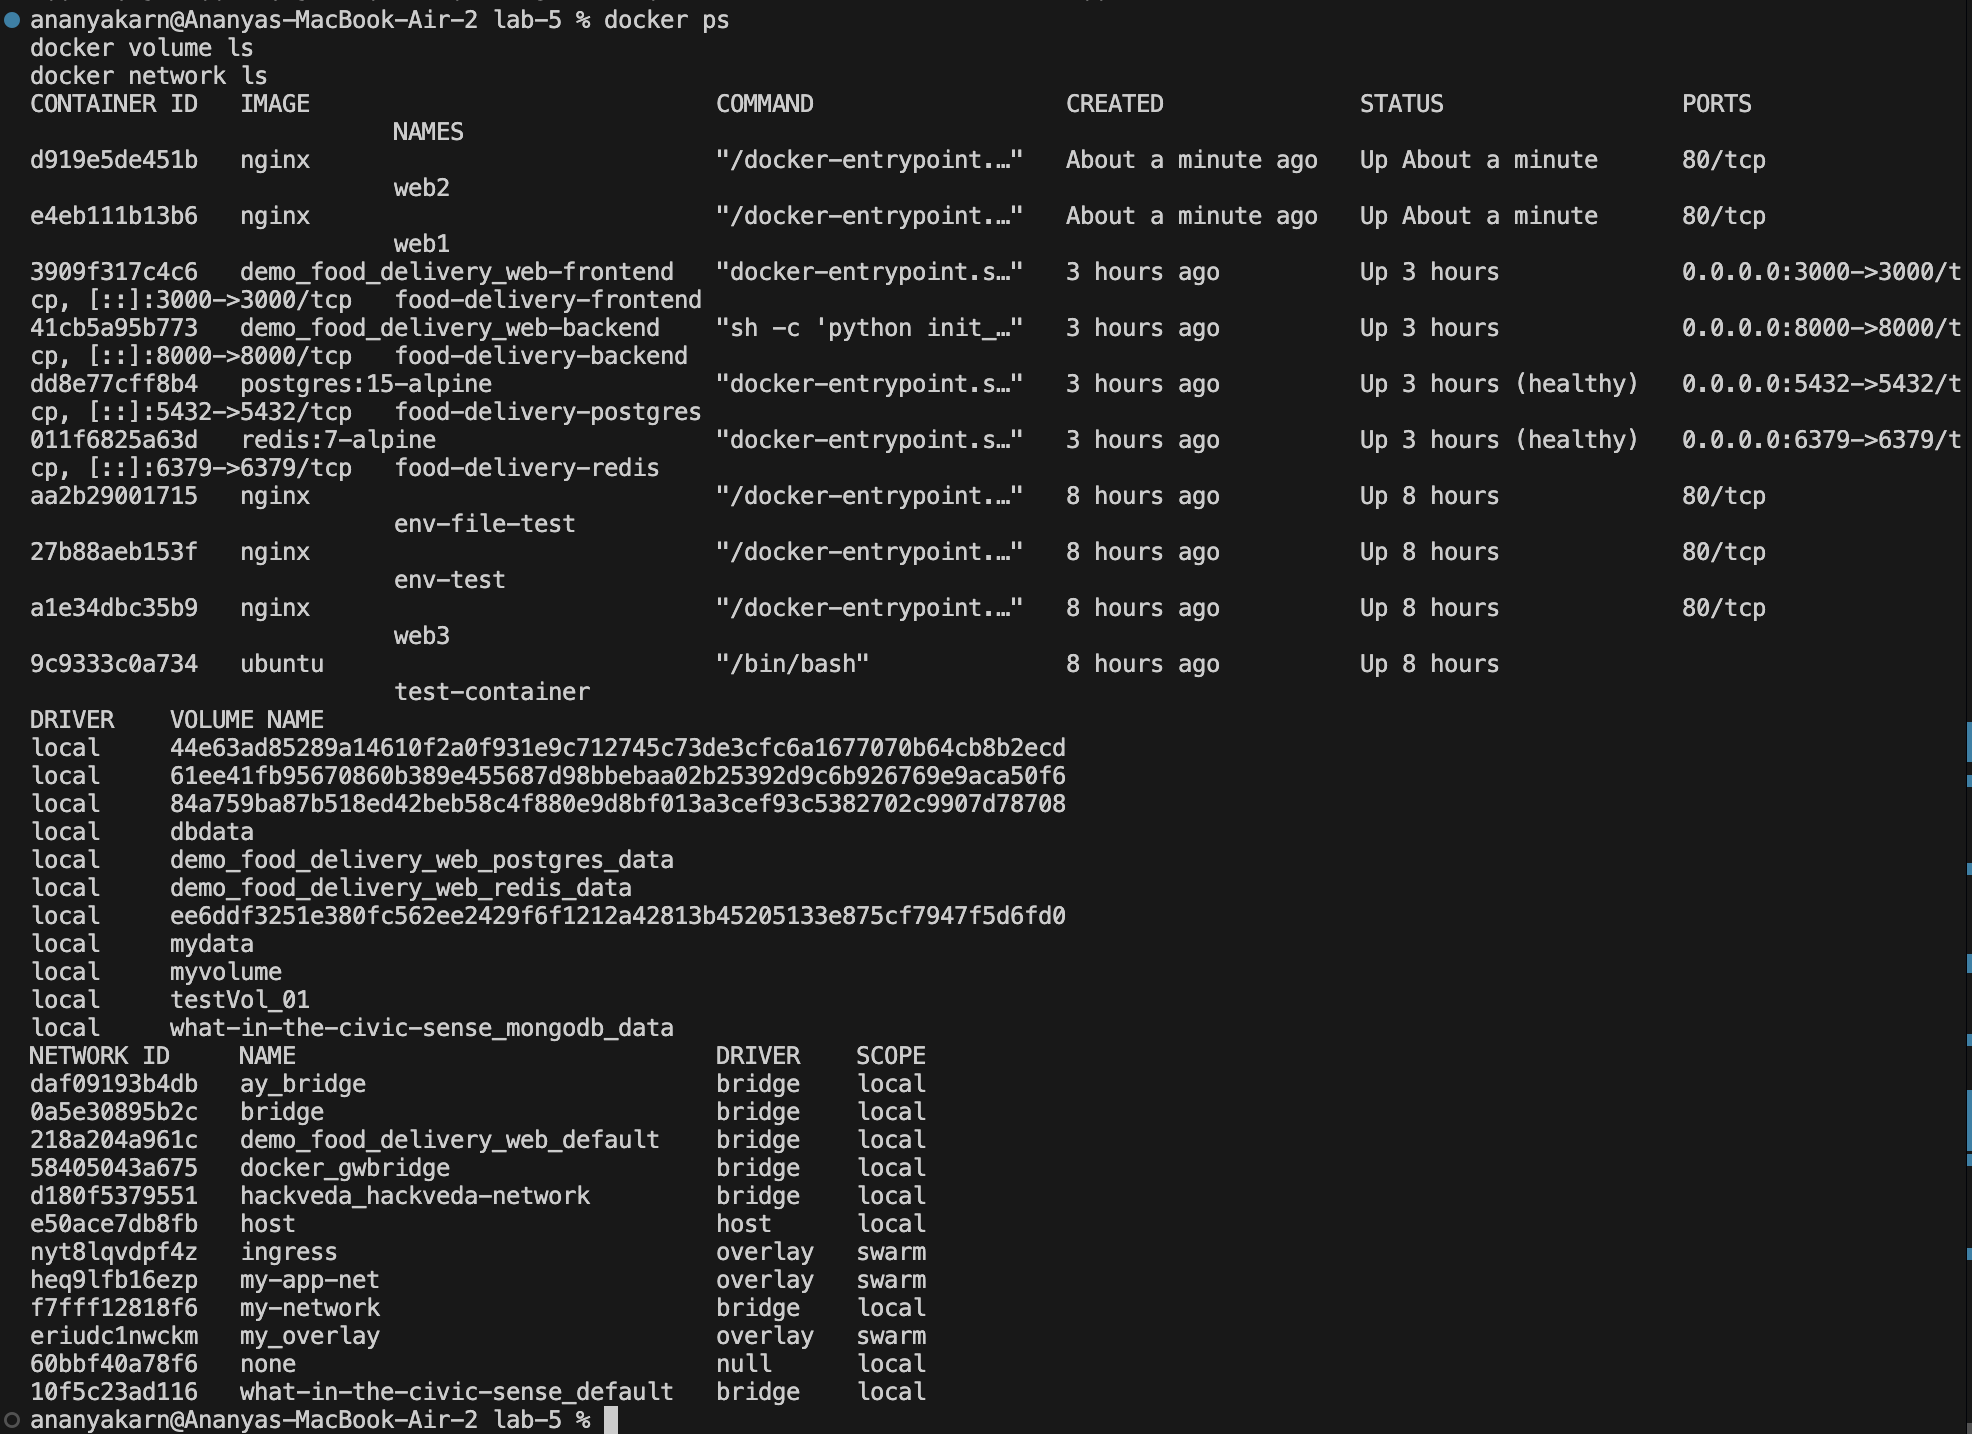
docker ps
Step 8: Real-time Resource Monitoring
docker stats
Single snapshot:
docker stats --no-stream

Step 9: View Processes Inside Container
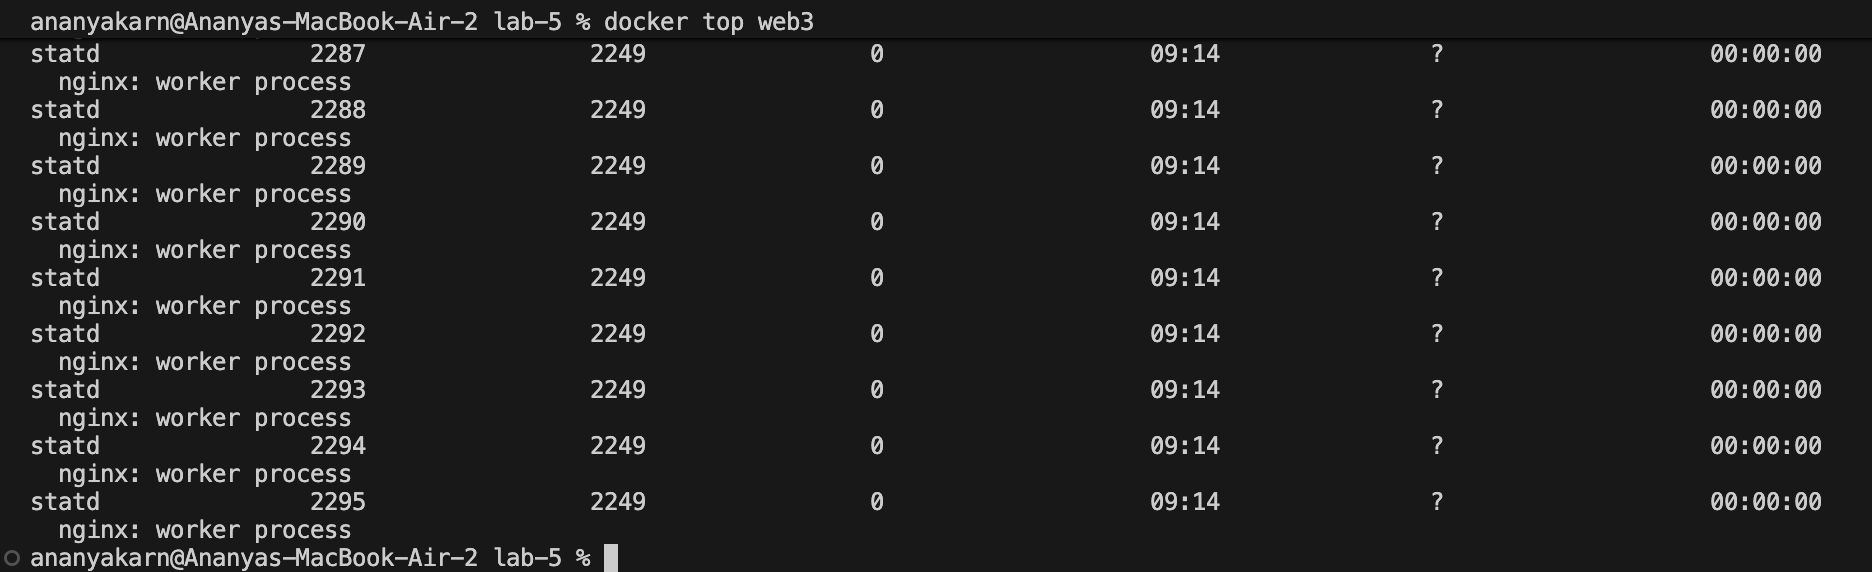
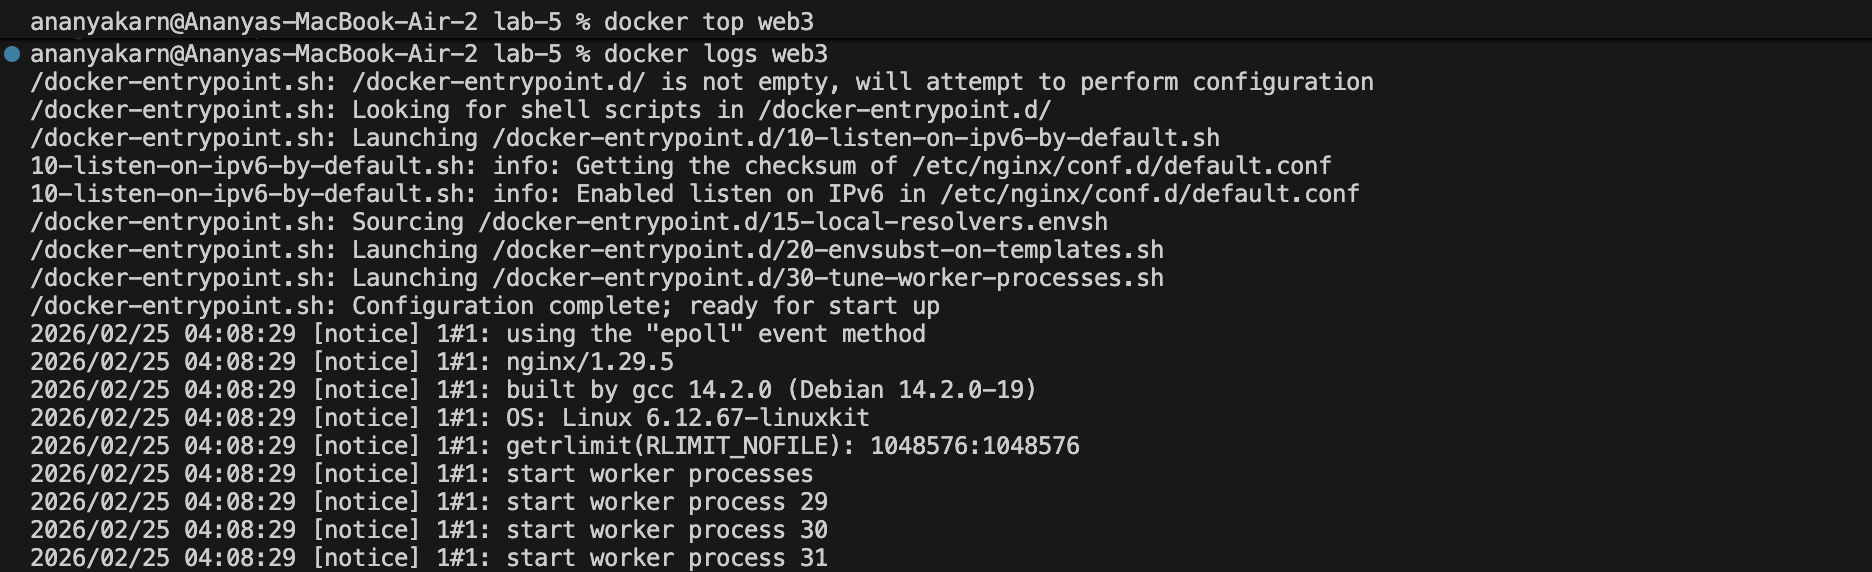
docker top web-bind
Step 10: View Logs
docker logs web-bind
Part 6: Docker Networks
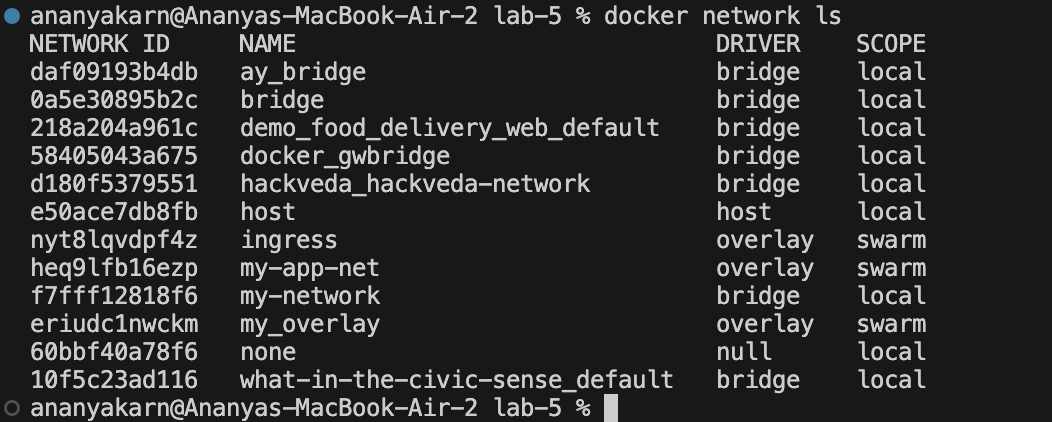
Step 11: List Existing Networks
docker network ls

Step 12: Create Custom Network
docker network create my-network
Verify network:
docker network ls
Step 13: Run Containers on Custom Network
docker run -d --name web1 --network my-network nginx
docker run -d --name web2 --network my-network nginx

Step 14: Test Container Communication
docker exec web1 curl http://web2
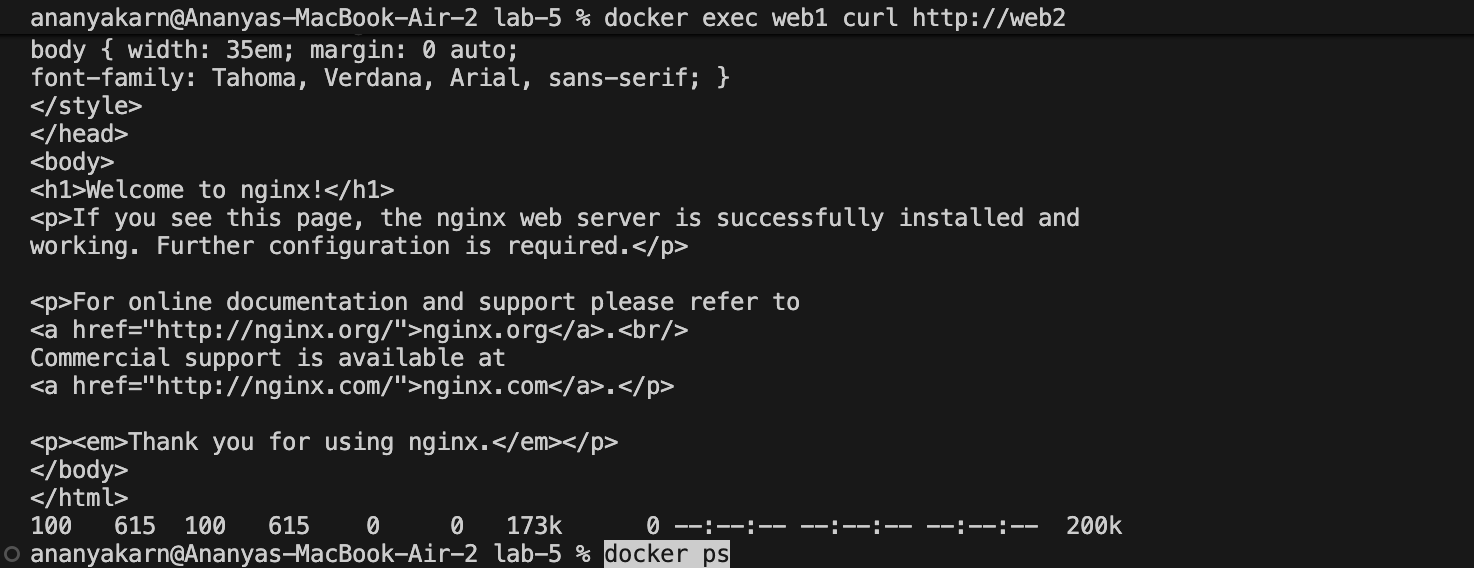
Observation
Containers connected to the same custom bridge network can communicate using container names as hostnames.
Step 15: Inspect Network
docker network inspect my-network
Result
Docker volumes were successfully implemented to persist data.
Environment variables were configured using both command-line flags and env files.
Container monitoring was performed using Docker commands.
A custom bridge network was created and container-to-container communication was verified successfully.
Conclusion
This experiment demonstrated Docker storage mechanisms, runtime configuration using environment variables, monitoring techniques, and container networking. These features are essential for building reliable and production-ready containerized applications.
Experiment 6: Docker Run vs Docker Compose
Aim/Objective:
To prove that the same setup can be done using docker run (manual) and docker compose (automated & clean), demonstrating manual vs automated setup, converting multi-container setups, assigning volumes and networks, setting resource limits, and building custom images.
TASK 1 — Single Container (Easy Start)
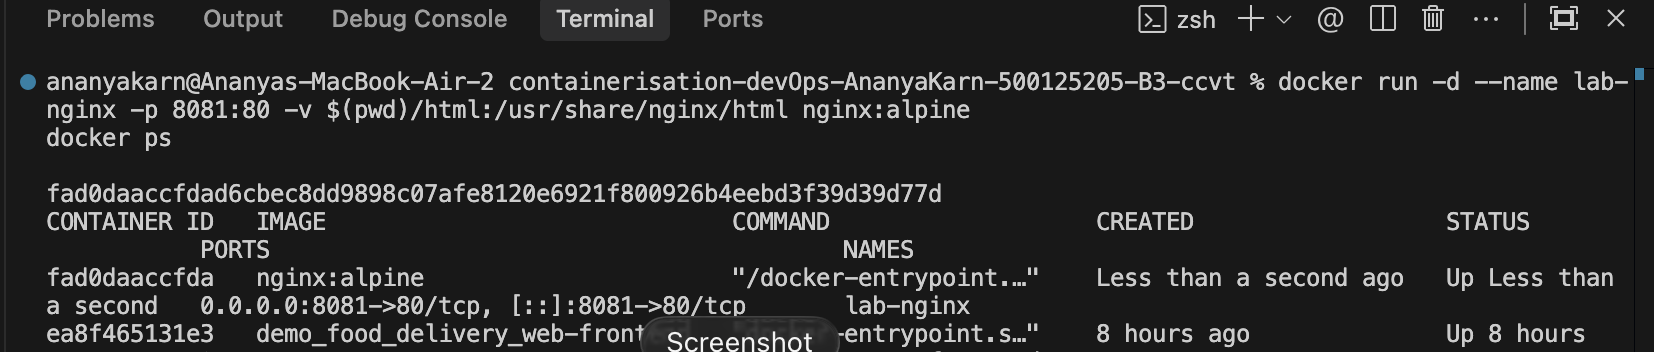
Part A: Using docker run (Manual Setup)
We run an Nginx container manually, exposing it on port 8081 and mapping a local html volume.
docker run -d \
--name lab-nginx \
-p 8081:80 \
-v $(pwd)/html:/usr/share/nginx/html \
nginx:alpine
Verify it’s running:
docker ps
curl http://localhost:8081
Clean up:
docker stop lab-nginx
docker rm lab-nginx
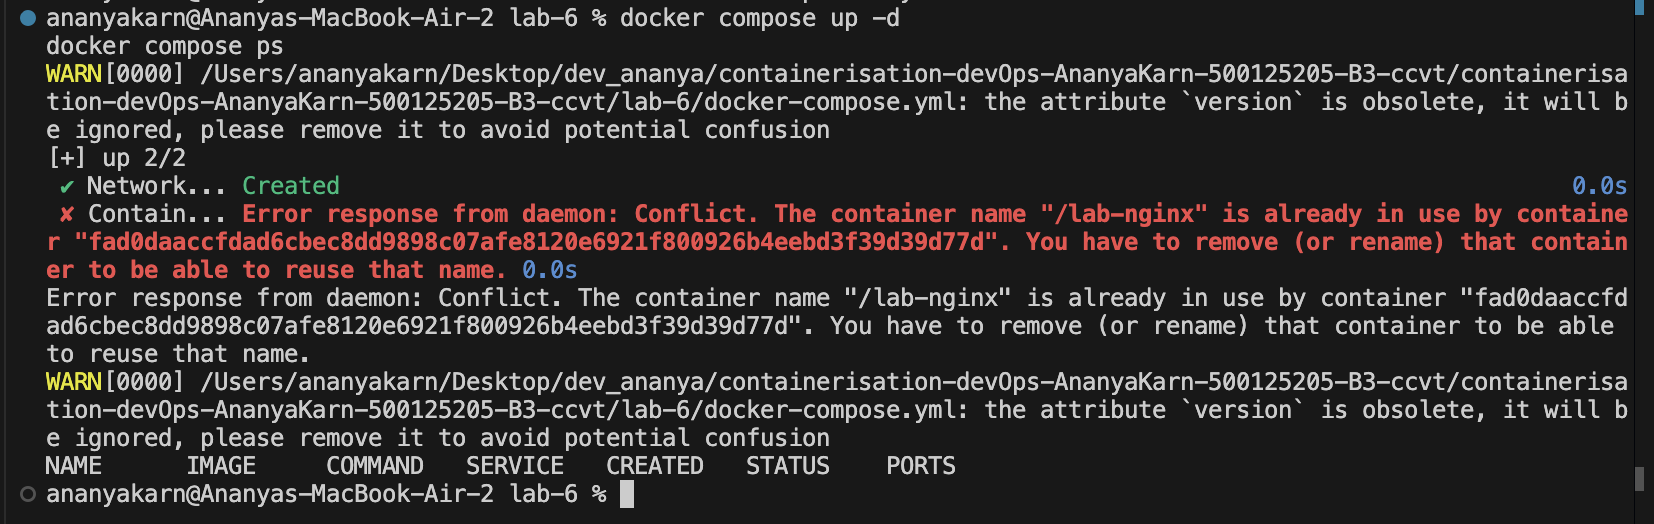
Part B: Same using Docker Compose
Create a docker-compose.yml file to automate the same:
version: '3.8'
services:
  nginx:
    image: nginx:alpine
    container_name: lab-nginx
    ports:
      - "8081:80"
    volumes:
      - ./html:/usr/share/nginx/html
Run and verify:
docker compose up -d
docker compose ps
docker compose down

TASK 2 — Multi-Container App (IMPORTANT ⭐)
Demonstrating why Compose is better for multi-container apps (WordPress + MySQL).
Using Docker Run (Manual Setup)
Step 1: Create Custom Network
docker network create wp-net
Step 2: Start MySQL Container
docker run -d \
--name mysql \
--network wp-net \
-e MYSQL_ROOT_PASSWORD=secret \
-e MYSQL_DATABASE=wordpress \
mysql:5.7
(Note for Apple Silicon: append --platform linux/amd64 to mysql:5.7)
Step 3: Start WordPress Container
docker run -d \
--name wordpress \
--network wp-net \
-p 8082:80 \
-e WORDPRESS_DB_HOST=mysql \
-e WORDPRESS_DB_PASSWORD=secret \
wordpress:latest
Verify:
Open http://localhost:8082
(Insert Screenshot: Browser showing WordPress installation page)
Using Docker Compose (Clean Way)
Automating the setup cleanly using docker-compose.yml:
version: '3.8'
services:
  mysql:
    image: mysql:5.7
    platform: linux/amd64
    environment:
      MYSQL_ROOT_PASSWORD: secret
      MYSQL_DATABASE: wordpress
    volumes:
      - mysql_data:/var/lib/mysql

  wordpress:
    image: wordpress:latest
    ports:
      - "8082:80"
    environment:
      WORDPRESS_DB_HOST: mysql
      WORDPRESS_DB_PASSWORD: secret
    depends_on:
      - mysql

volumes:
  mysql_data:
Run and clean up:
docker compose up -d
docker compose down -v
TASK 3 — Convert Docker Run → Compose
Given docker run command:
docker run -d \
--name webapp \
-p 5000:5000 \
-e APP_ENV=production \
-e DEBUG=false \
--restart unless-stopped \
node:18-alpine
Converted docker-compose.yml:
version: '3.8'
services:
  webapp:
    image: node:18-alpine
    container_name: webapp
    ports:
      - "5000:5000"
    environment:
      APP_ENV: production
      DEBUG: "false"
    restart: unless-stopped
TASK 4 — Volume + Network Conversion
Writing ONE compose file combining a backend and a postgres DB with a custom network and volume.
Converted docker-compose.yml:
version: '3.8'

services:
  db:
    image: postgres:13
    environment:
      POSTGRES_USER: user
      POSTGRES_PASSWORD: password
      POSTGRES_DB: appdb
    volumes:
      - pgdata:/var/lib/postgresql/data
    networks:
      - custom-network

  backend:
    image: node:18-alpine
    environment:
      DB_HOST: db
      DB_USER: user
      DB_PASSWORD: password
    ports:
      - "3000:3000"
    depends_on:
      - db
    networks:
      - custom-network

volumes:
  pgdata:

networks:
  custom-network:
TASK 5 — Resource Limits
Given docker run command:
docker run -d \
--name limited-app \
-p 9000:9000 \
--memory="256m" \
--cpus="0.5" \
--restart always \
nginx:alpine
Converted docker-compose.yml:
services:
  limited-app:
    image: nginx:alpine
    ports:
      - "9000:9000"
    restart: always
    deploy:
      resources:
        limits:
          memory: 256m
          cpus: "0.5"
TASK 6 — Build Your Own App (Most Practical)
Demonstrating the difference between image: (prebuilt) and build: (custom) in compose.
Step 1: Create app.js
const http = require('http');
http.createServer((req, res) => {
 res.end("Docker Compose Build Lab");
}).listen(3000);
Step 2: Create Dockerfile
FROM node:18-alpine
WORKDIR /app
COPY app.js .
EXPOSE 3000
CMD ["node", "app.js"]
Step 3: Create docker-compose.yml
version: '3.8'
services:
  nodeapp:
    build:
      context: .
      dockerfile: Dockerfile
    container_name: custom-node-app
    ports:
      - "3000:3000"
Run the custom build:
docker compose up --build -d
Verify the output by opening http://localhost:3000.
FINAL SUMMARY
Proven Concepts:
- docker run: Demonstrated manual setup configuration.
- docker compose: Demonstrated automated, structured setup handling dependencies seamlessly.
- multi-container: Successfully deployed WordPress connected to a MySQL backend.
- conversion: Converted various docker run shell scripts into neat declarative YAML code.
- volumes + network: Built a real-world multi-tier architecture using bridge networks and named volumes.
- build: Managed custom application lifecycle (build, deploy) from a Dockerfile using Compose.